What is Explain Everything and How Does It Work? Best Tips and Tricks
Explain Everything is a digital whiteboard system built for the classroom and beyond

Tools and ideas to transform education. Sign up below.
You are now subscribed
Your newsletter sign-up was successful
Explain Everything is a digital whiteboard that is directly aimed at helping teachers and students express ideas clearly.
Unlike some other solid-state whiteboards, this is an online-based platform that supports teachers working in the classroom as well as those working remotely. That makes this ideal for a hybrid classroom setup.
Thanks to a selection of big-name tech brand partners, this is an easy system to integrate into existing school hardware. It also works with lots of different media types, which should make it easy to use -- so minimal training is required.
This guide aims to help explain all you need to know, as a teacher, student, admin or guardian, about Explain Everything.
What is Explain Everything?
Explain Everything is a digital whiteboard that is based online so it can be used across a host of devices and accessed from anywhere. It works as a presentation tool with visuals and audio editable by the user.
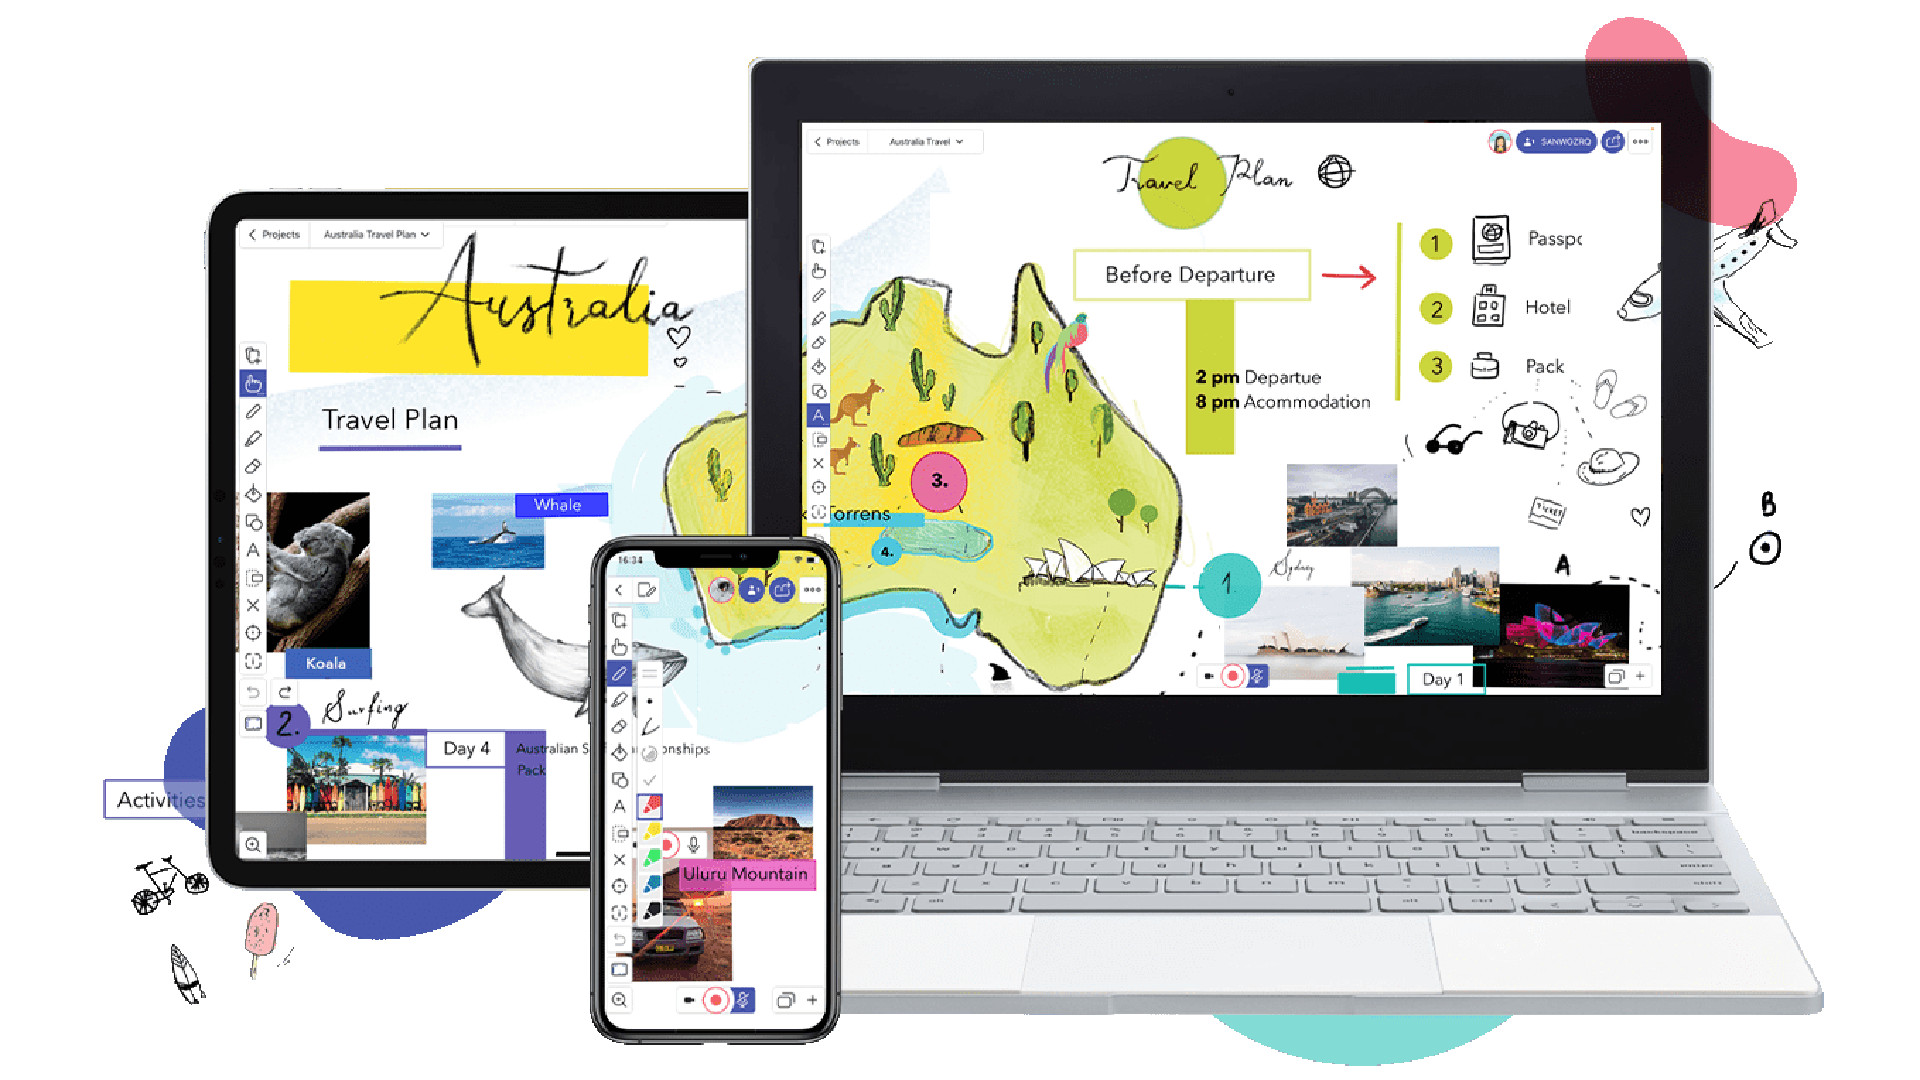
The digital whiteboard is available in app form for iPad, Android, Chromebook, and browsers in web app form, so it can operate on nearly any device.
The app itself works as a presentation tool, essentially. Think PowerPoint only with a lot more powerful features aimed specifically at teachers working with a class.
Tools and ideas to transform education. Sign up below.

Explain Everything lets teachers, or students, create presentations that pull in rich sources of media, from images and audio to videos and websites. Thanks to compatibility with services such as Dropbox, Google Drive, and iTunes -- to name a few -- there are many ways to pull in media from personal devices.
Crucially, this system is created for students also, with collaboration features, making it a great way to integrate digital skills learning with subject specific presentations.
How does Explain Everything work?
Explain Everything is primarily an app so is best accessed from the dedicated app for the device in use, be that an iPad, an Android device, or a Chromebook. That said, the web app, accessed via a browser, also works very well, even on older devices.
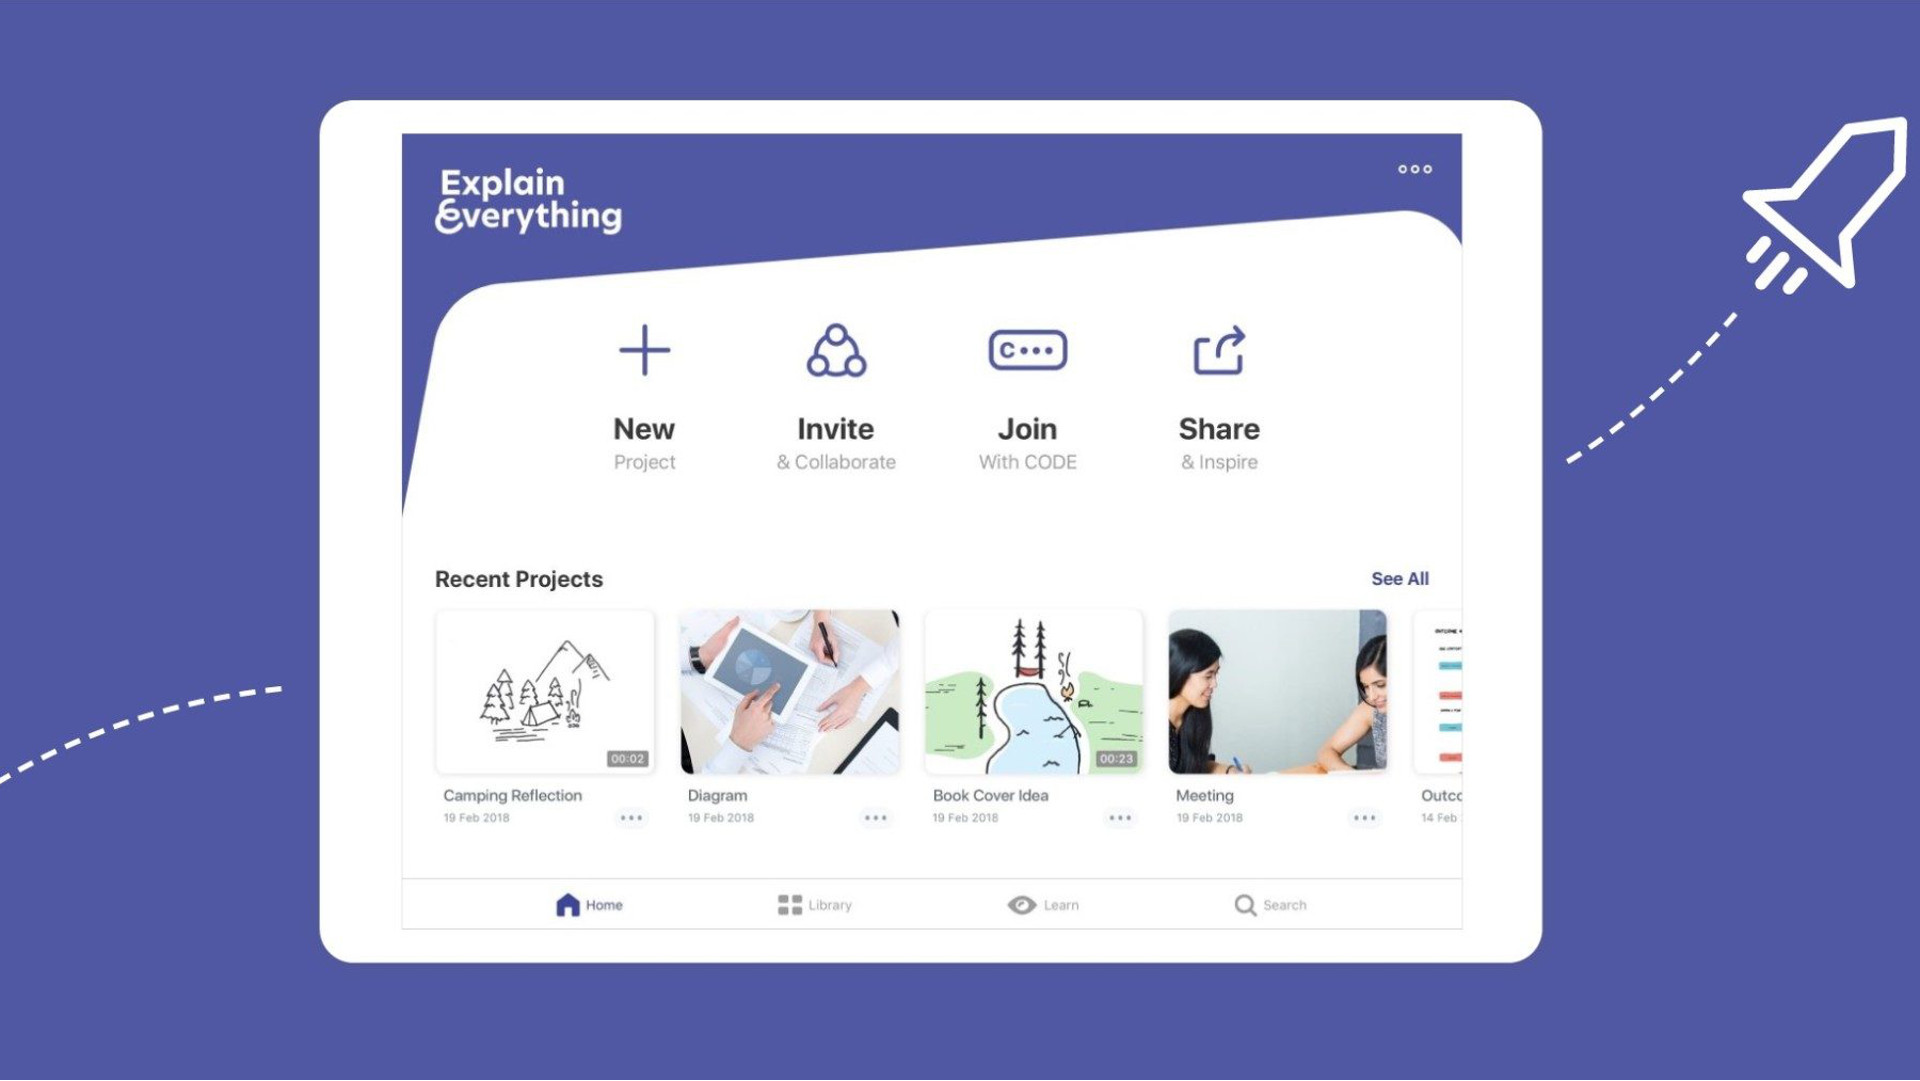
To get started simply select the "Start Whiteboarding" option and you're immediately underway with the New Project page. Here you can decide to start from a blank canvas or pick from the template options available. You can also call up files and work from there.

If you pick a template, you're immediately placed into the editing page and a pop-up will appear offering to guide you through the basics. This explains how to pull in media such as images, videos, clipart, documents, and more. The sidebar tools are also explained with moving, drawing, zoom and pan, plus record being clarified.
The above guidance was for the Explainer template. Within that, record is part of this as the central pane is a video window, with the option to add written or visual aids below in boxes laid out especially.
You can get this far without even having to sign up as this is a very open platform. Once done, you can tap the share icon and either create a web video link, export to share in different formats such as PDF or PNG, or broadcast it live to another screen.
What are the best Explain Everything features?
Explain Everything is super easy to use, which is a big draw since it requires minimal training for teachers. Even younger students can use this tool without much difficulty.
The Explain Drive is a useful feature as it is effectively a cloud storage space. Uploading files and videos is easy, allowing you to work online and to jump between devices as needed. But it also saves projects automatically so when you return you can quickly search for anything you want to reopen.

If you're doing a video presentation, this tool will let you split that video up so you can re-do sections if you need to, without having to re-record the whole video. A useful feature for students who might otherwise feel under pressure to get it right the first time.
Collaboration is another useful feature, both for teachers and students working on projects. This allows students to work with peers remotely, in different classrooms or even across schools. This could be a good way to brainstorm ideas to one main screen in a classroom where everyone can contribute from their own devices, in class, remotely, or both.
The ability to add audio from voice recordings can be helpful as a way to annotate a slide, allowing a teacher or student to guide others through their thinking. From working through math problems to explaining art history, this has a wide range of uses.
How much does Explain Everything cost?
Explain Everything offers a one user account that is totally free. This is limited to three projects, one slide per project, and video exports limited to one minute. It works on any device, has collaboration with voice chat, web video link sharing, and 500MB of cloud storage.
The Teacher account is $24.99 per user, per year and works for between one and nine users. This offers all the above plus unlimited projects, slides and recording, 1GB of cloud storage, user and license management, plus shared folders.
The Class plan is $8.99 per user, per year and works for 10-100 users. This gets you all the Teacher features plus MDM deployment and advanced security and permissions.
The School and District tier is for more than 100 users and is charged at a custom price. This gets you all that Class offers plus priority support, training, reporting, custom clipart, and custom templates.
Explain Everything best tips and tricks
Teach a lesson in video
By creating a video that works through an activity, saying when to pause, a student can be taught as if you were there. Show a sentence in another language, ask which words are verbs, then highlight the answers after a short pause break.
Use in class
Doing a science experiment? Have students take photos and record audio along the way to explain how it all worked as part of a homework submission for after the class is done. This could apply to more than just science classes too.
Work within Canvas
Explain Everything works with Canvas so you can use the LMS and setup an online whiteboard within that. The below video explains how you can do that easily.
Luke Edwards is a freelance writer and editor with more than two decades of experience covering tech, science, and health. He writes for many publications covering health tech, software and apps, digital teaching tools, VPNs, TV, audio, smart home, antivirus, broadband, smartphones, cars and much more.
