Acer Predator Desktop DIY Kit: Girls Review
Students from Knollwood Middle School in New Jersey assemble the Acer Predator Desktop DIY Kit and share their experience

Hello, my name is Emily Strand and my partner is Madeline Albertelli. We're both 7th graders from Knollwood Middle School in New Jersey where we are part of an entrepreneurship class called FH Innovates.
In class, we were challenged by our teacher, Mr. Aviles, to start a business. We know that the world needs more girls in STEM careers. We also know that many companies are creating STEM kits for students. We thought we would start a company, Girls Review, that would review educational STEM products from a girls’ perspective.
Our first client is Acer and the Predator Do-It-Yourself (DIY) Desktop Gaming Kit! We are so thankful to have the opportunity to be able to build and review this product!
The Acer Predator DIY Desktop Kit came mailed to us in a timely fashion in a sturdy box with organized packaging that made it easy to identify all the parts.
The kit includes:
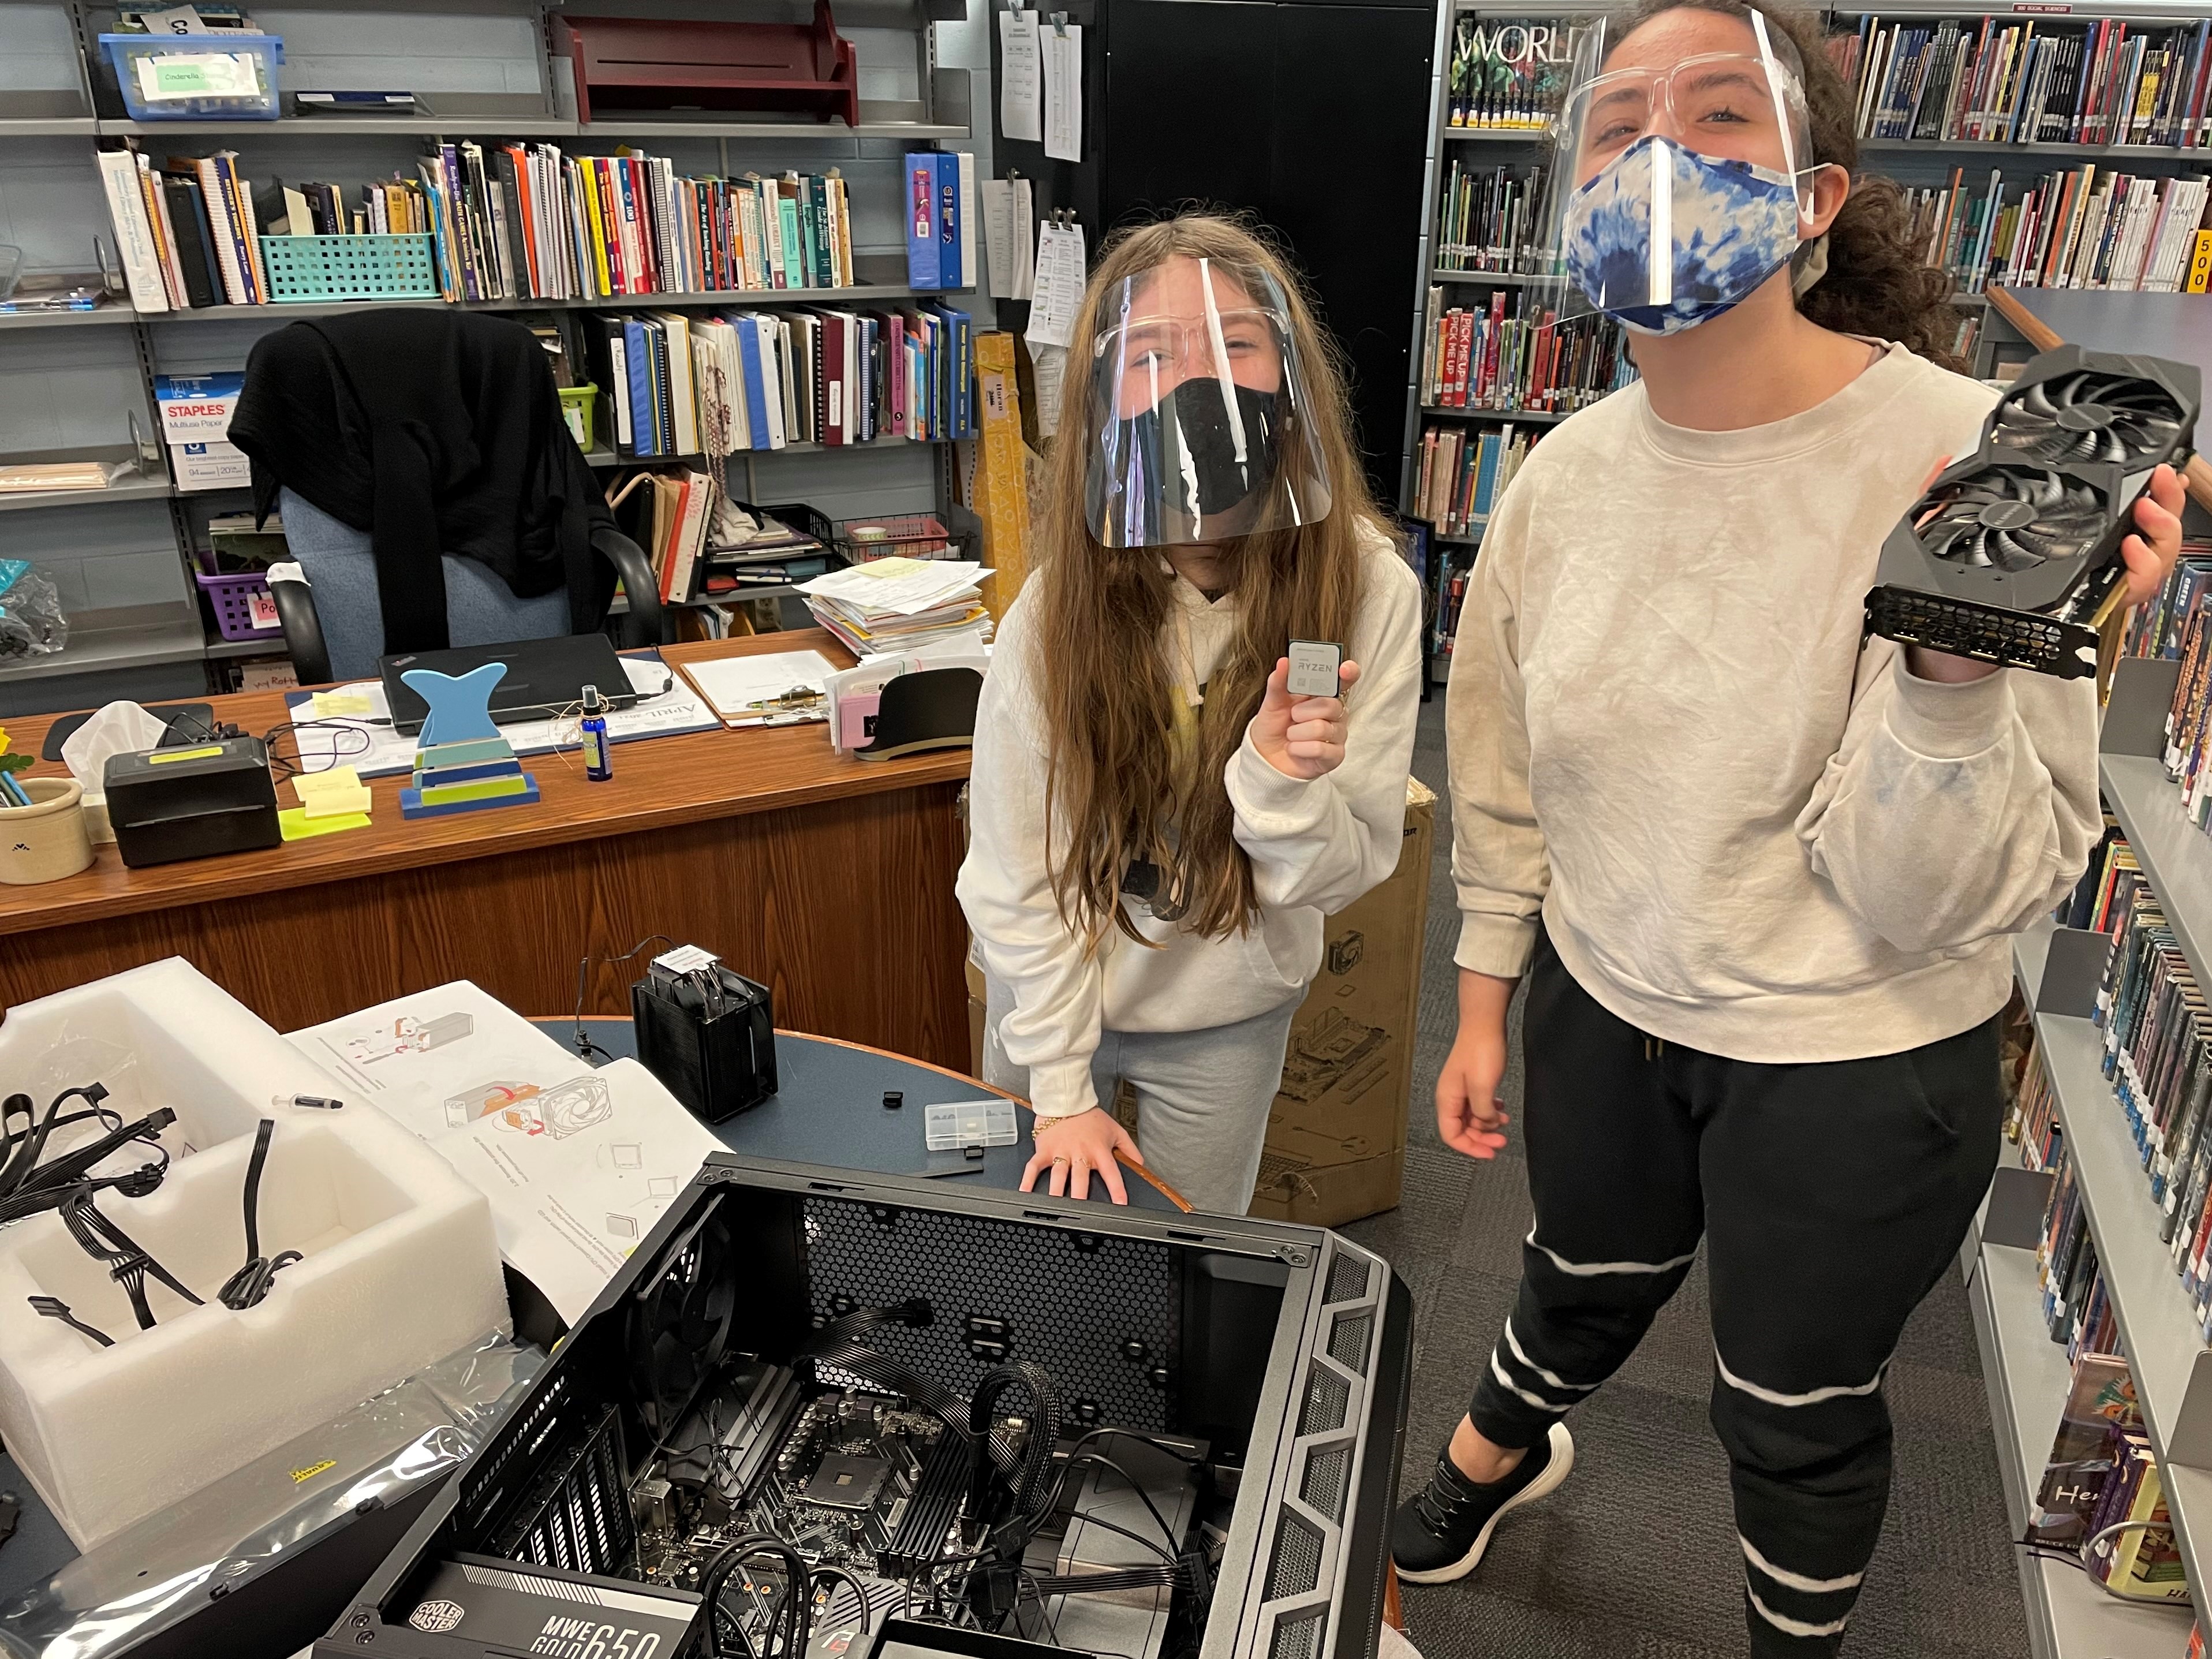
- AMD Ryzen 7 3700x CPU
- 16GB of DDR 4 RAM
- Nvidia GeForce RTX 2060 Super with 8GB of GDDR6 Ram
- Predator gaming peripherals
- Assembly tools
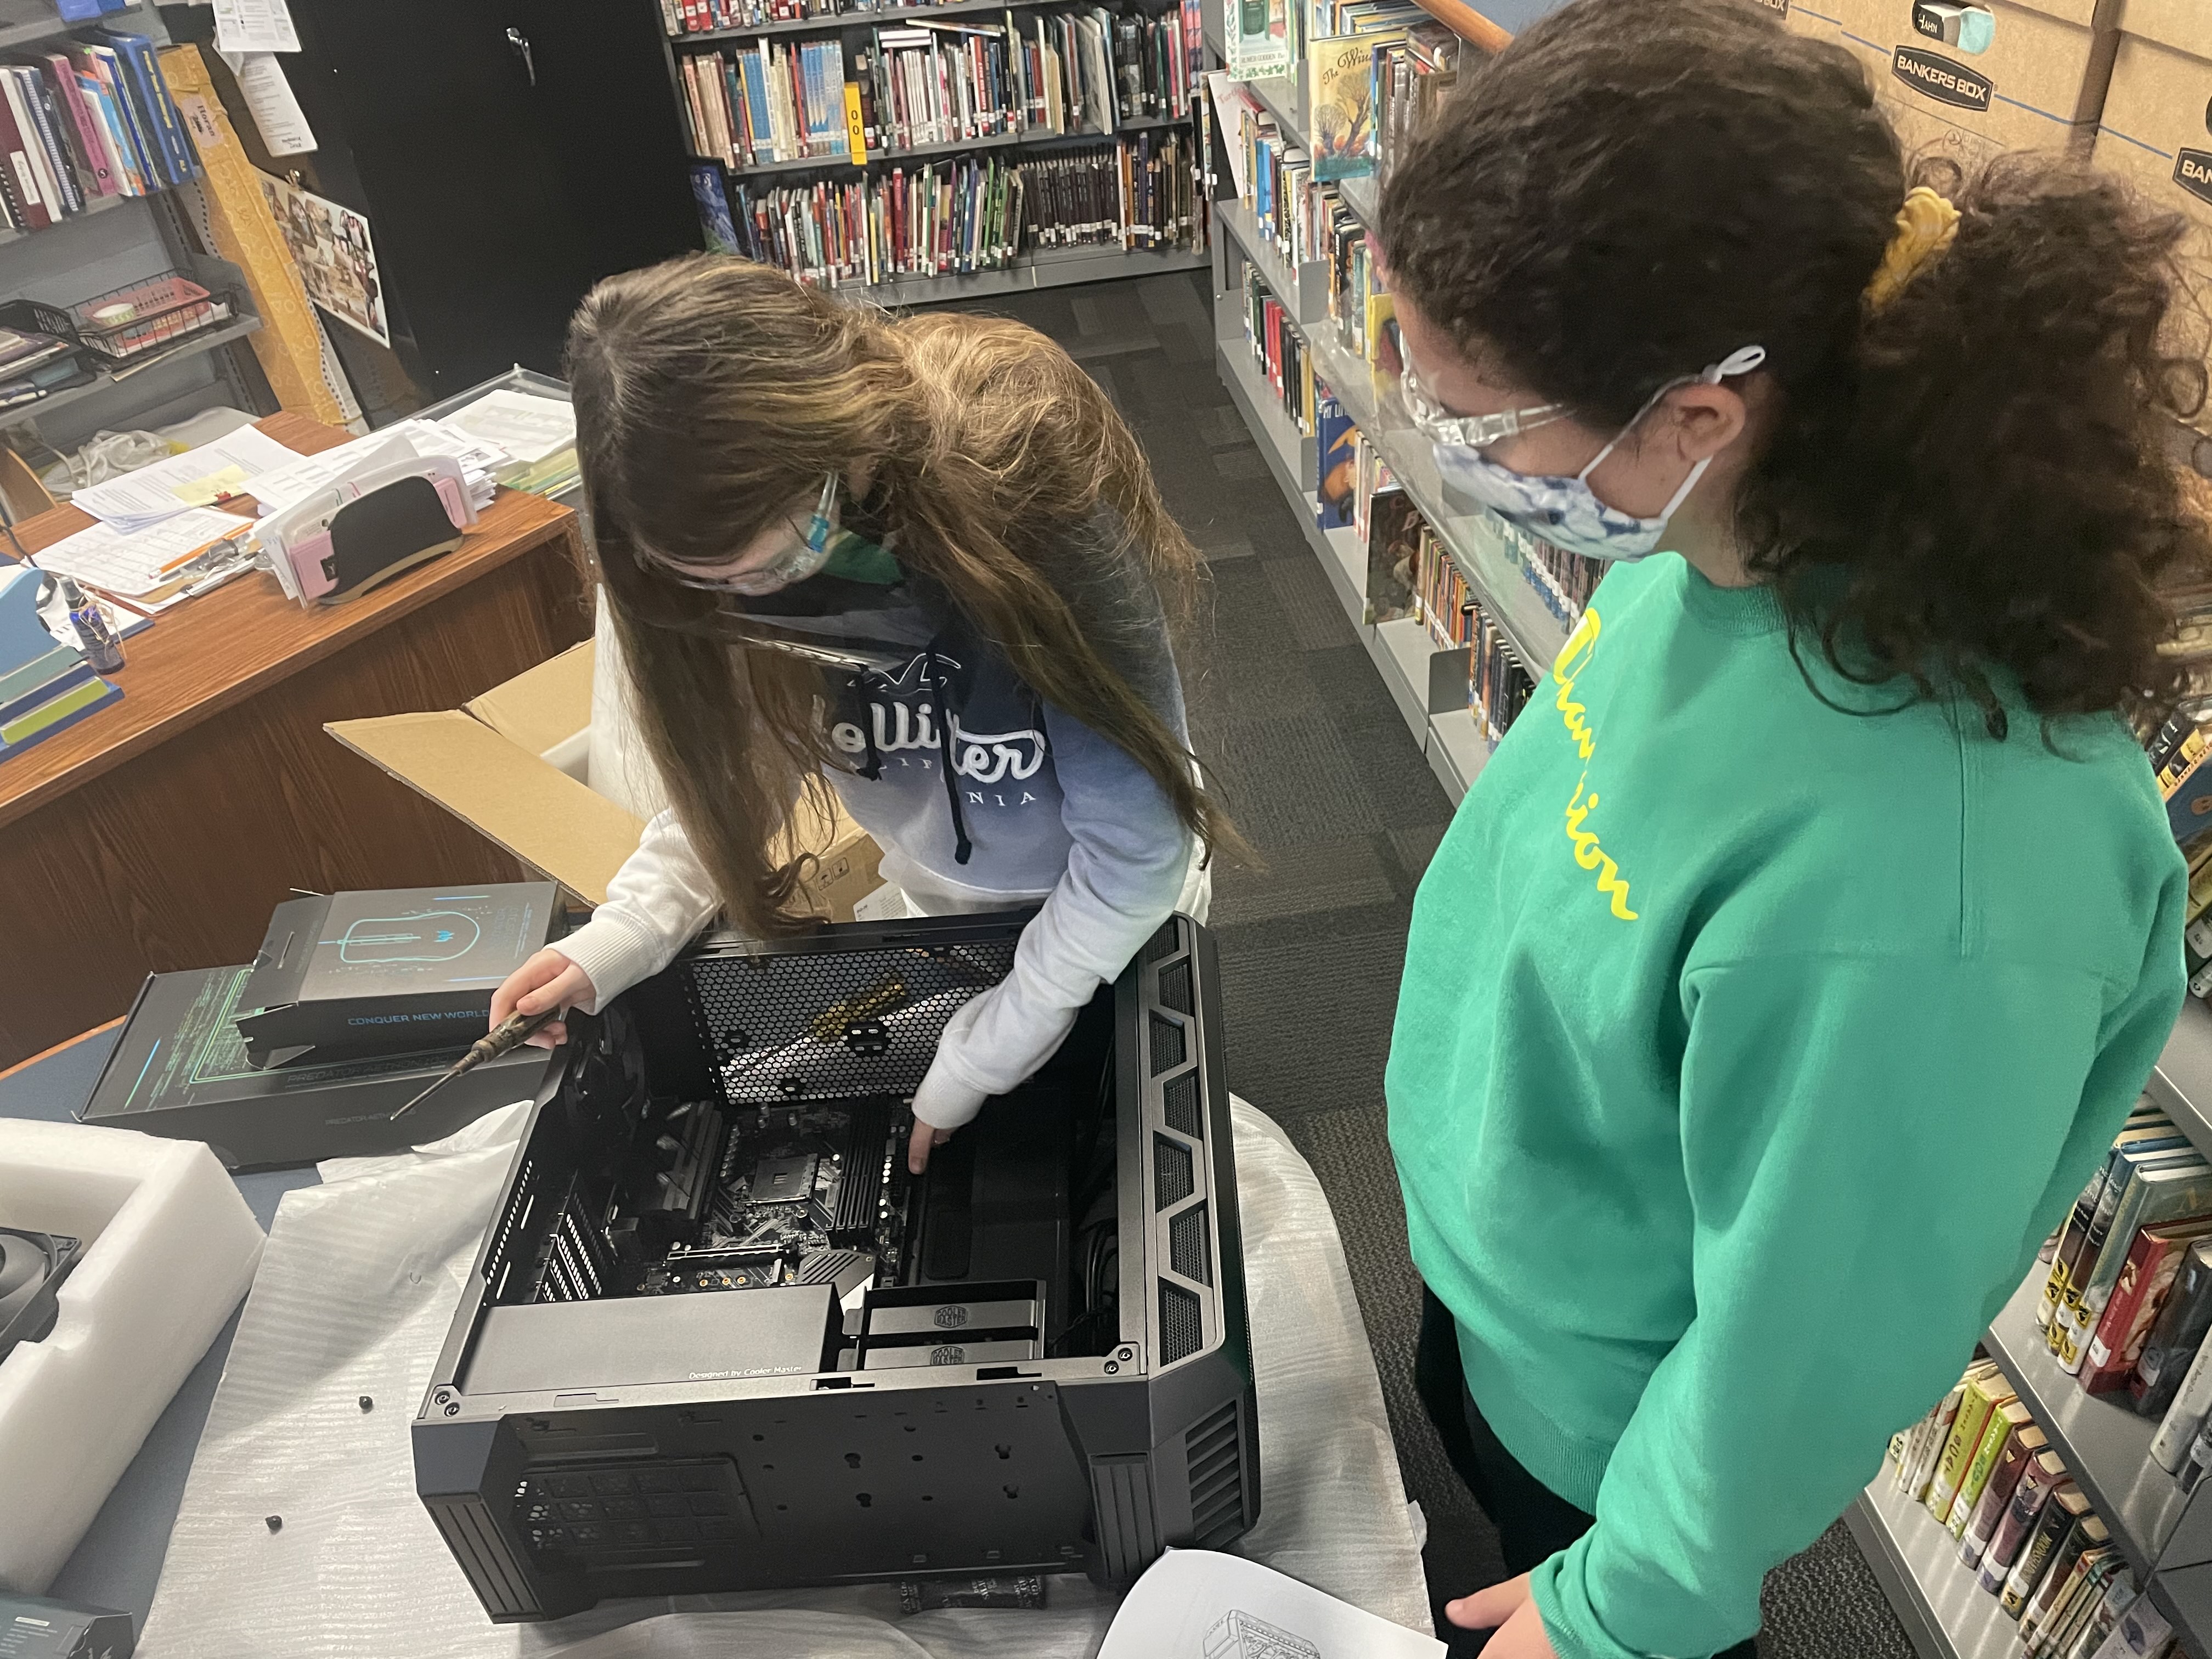
When we started to unbox the PC, we were both so excited. We enjoy gaming, and Emily is part of our school's esports team, but we’ve never built a PC before. Looking at all the parts spread out was intimidating at first. Emily began by removing all the packages, the mouse, the accessory box, the packs of screws, cords, keyboard, etc.
We first switched out the PC cooler base so our aftermarket CoolMaster fan and heatsink would fit over the CPU when it was time to install it. We then installed the motherboard and power supply with little problem.
Tools and ideas to transform education. Sign up below.


Where things became difficult is when it was time to start wiring parts of the computer to the power supply. One suggestion we have for Acer is to consider including how-to videos to go along with the instruction booklet because orientating the booklet and the case to make sure we wired things correctly was complex. Mr. Aviles occasionally stepped into help us, and as we continued to wire the different parts, he explained to us the “art of cable management” because your gaming PC should look cool!
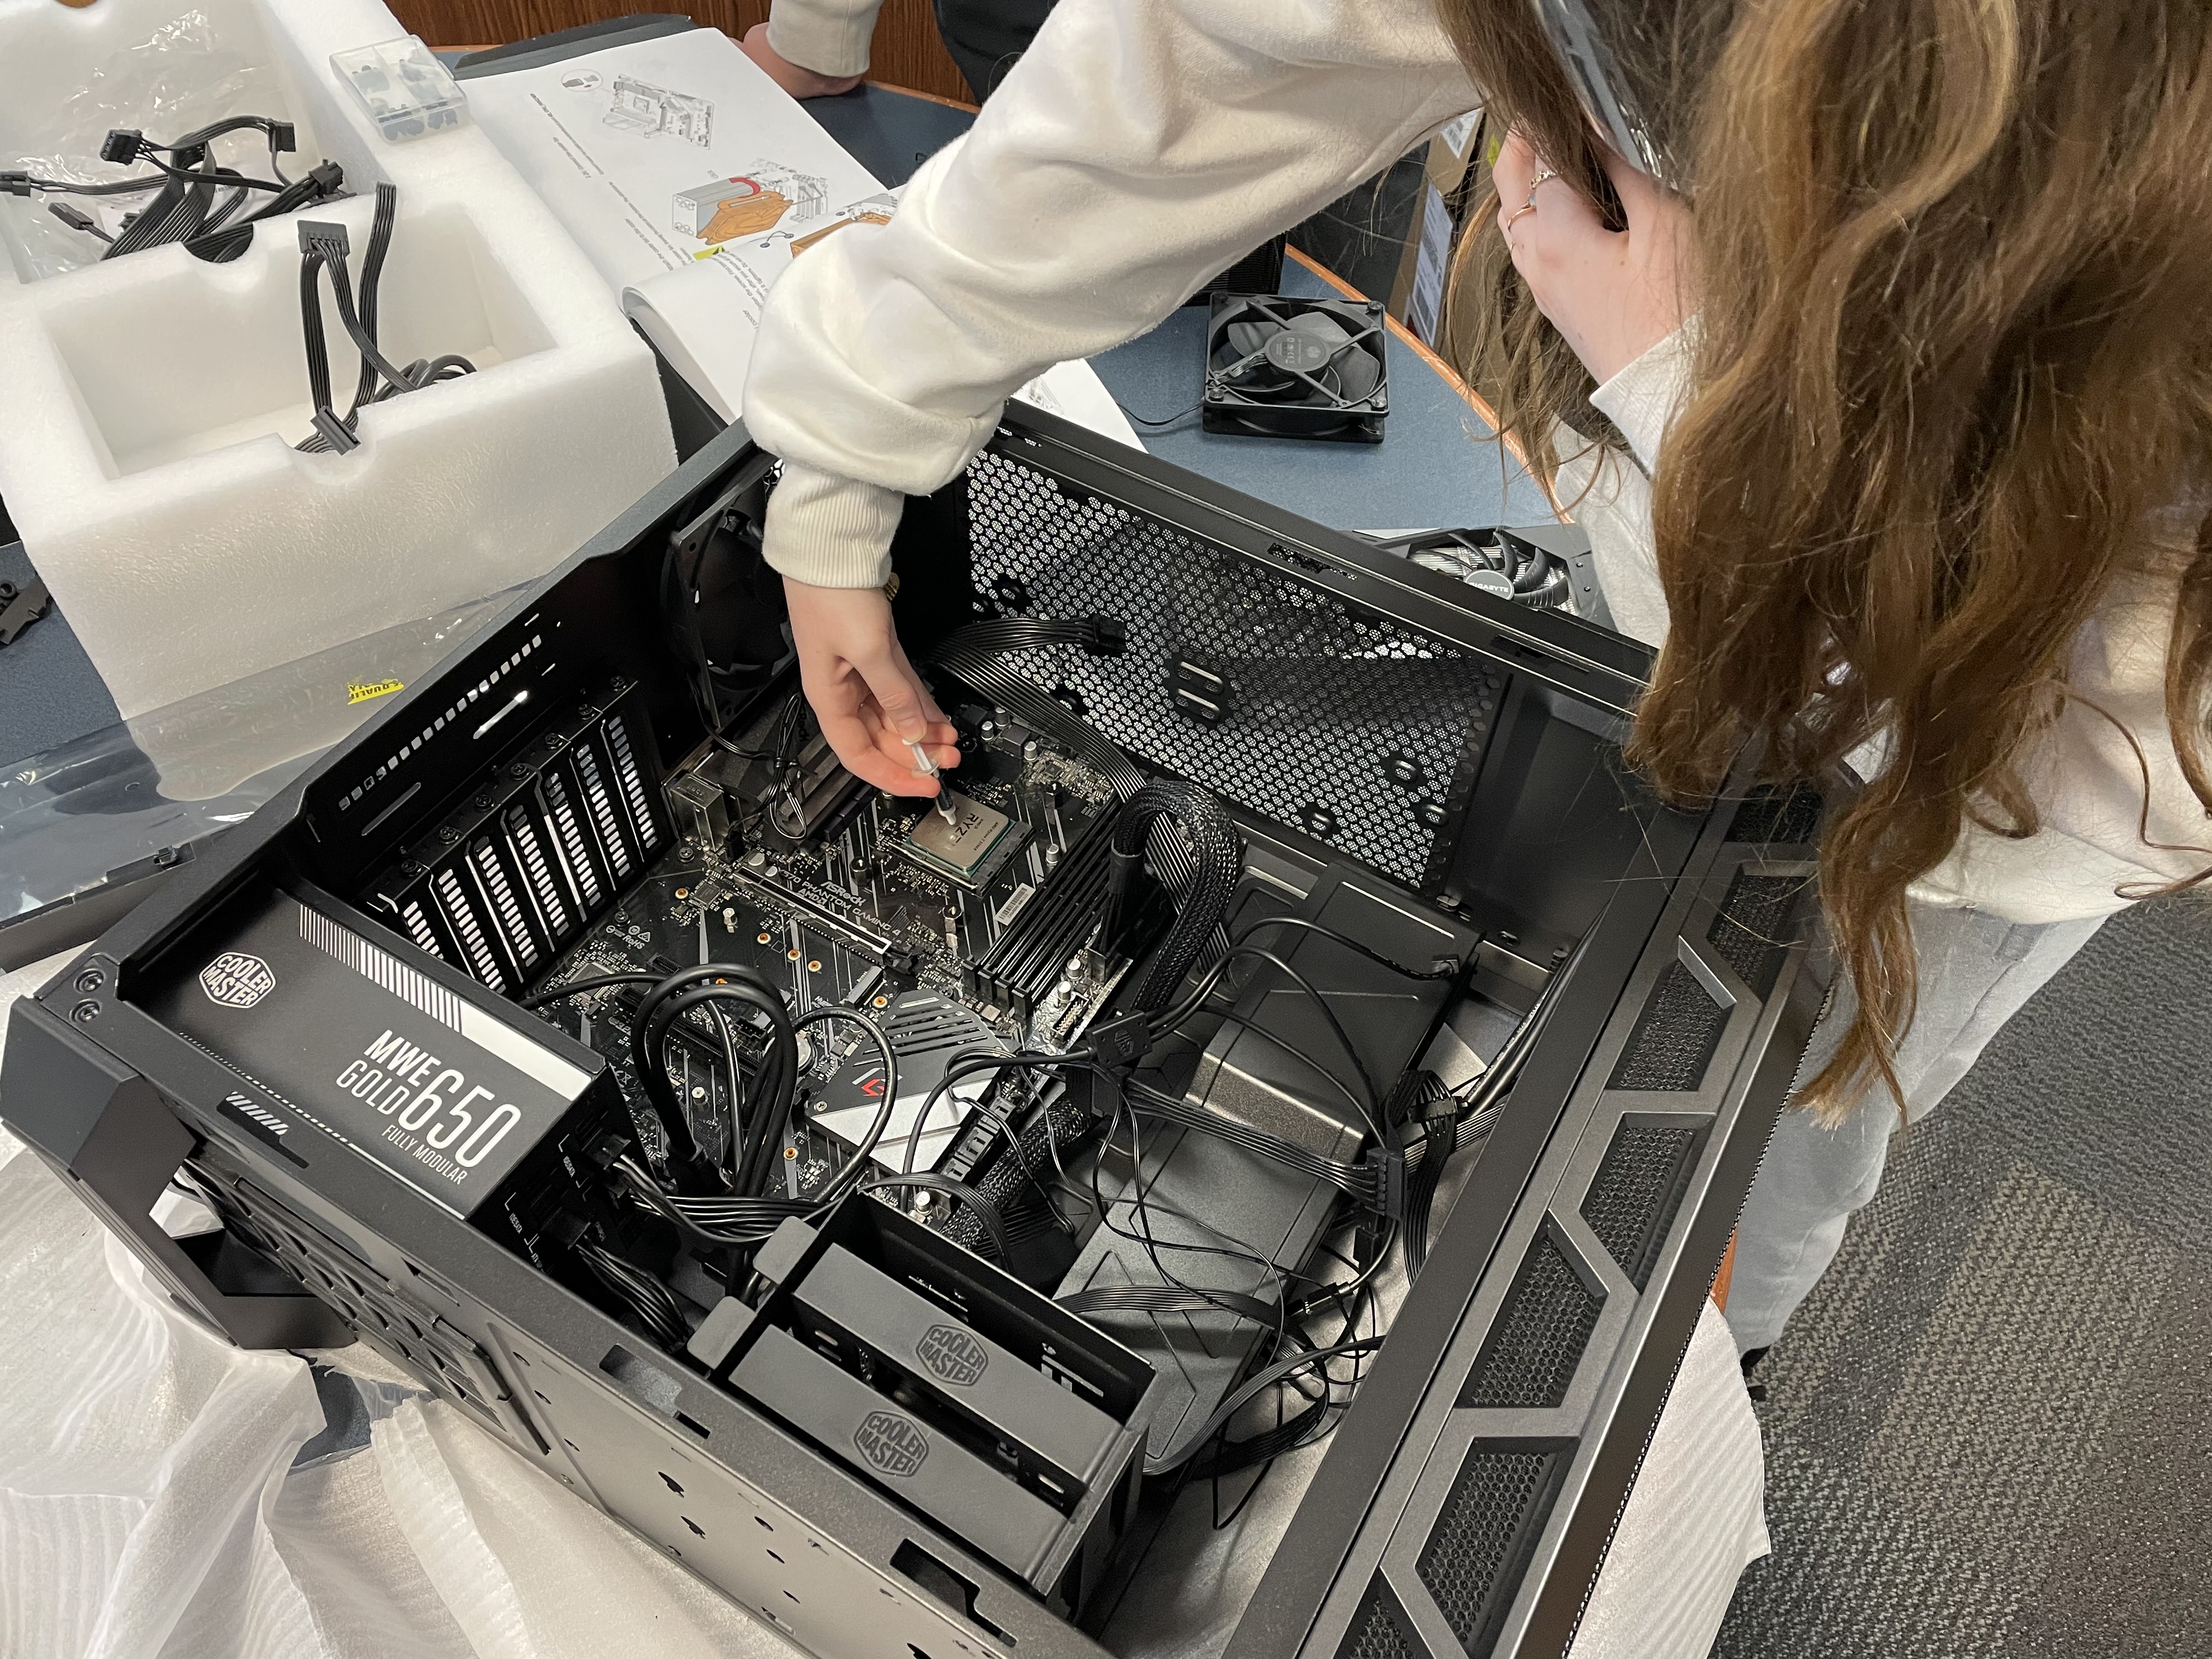
After figuring out the wiring, we installed the CPU, the RAM, and the graphics card. When our classmates saw us installing the graphics card, they immediately came over and watched and talked about their own gaming devices and how cool it was that we got to work on a project like this!
When it came time to install the heatsink, we realized that we were missing an important part -- the bracket to mount it to the motherboard! We were very diligent in making sure we cataloged all the parts since we have to mail the kit back to Acer, so we were sure there must have been a mistake. Mr. Aviles contacted Acer and let them know about the issue. After a few back and forths, Acer identified what might have gone wrong and shipped us the missing part immediately. It was really cool to see how much they cared about making sure we were able to finish the kit! We appreciated the great customer service!
Once the part arrived, we were so excited to finish the PC. It was a great feeling watching it boot up and we were excited to play Rocket League on it during school - you know, just to make sure it worked.
Overall, the kit was packaged very well and pretty easy to build. We were lucky that Mr. Aviles has been building PCs for a long time and taught us tricks such as how to orientate the PC so it matched the pictures in the booklet. At times, the instructions were a little difficult to understand and we worry that other students might not have a teacher as knowledgeable about PC building like we have. We hope that Acer will consider making how-to videos and we hope the host of the videos is a girl like us.
Overall, Girls Review gives the Acer Predator Desktop DIY Kit an A+. Building a high-end gaming PC is an exciting experience and it was fun to see and learn about all the parts that make a computer work. We were proud when we booted up the PC and it worked. It was also fun to see how jealous all the boys in class were of our amazing project. It’s going to be sad when we have to take apart the computer and ship it back!
Thank you to Acer for giving us this opportunity. If you’d like to have your product reviewed by us, reach out to our teacher Mr. Aviles!

Chris Aviles is a STEM teacher, edtech specialist, and president of Garden State Esports. He is also a regular contributor to Tech & Learning.
