How Do I Screencast a Lesson?
Screencast a lesson as a way to educate remotely and make flipped classrooms even more effective. Here's how

Tools and ideas to transform education. Sign up below.
You are now subscribed
Your newsletter sign-up was successful
Screencast a lesson as a way to engage students both in the classroom and when teaching remotely. A screencast is, essentially, a recording of your computer screen -- and you -- with audio narration over the top.
This means taking what you might normally teach in class and putting it on screen for the class to see as you cover a subject. It can now be done and viewed from anywhere, making it an idea tool for remote learning or a flipped classroom.
A screencast allows teachers to incorporate rich media, such as images, text, and video, or work through problems, all as if the student were being taught one-on-one. And since this is all recorded, students are able to go at their own pace and repeat anything they need to take a second pass at.
So while a screencast is clearly a valuable tool, how do you screencast a lesson?
- What Is Screencast-o-matic and How Does It Work?
- 6 Ways to Bomb-Proof Your Zoom Class
- Zoom for Education: 5 tips
- Why Zoom Fatigue Occurs and How Educators Can Overcome It
Best screencast software
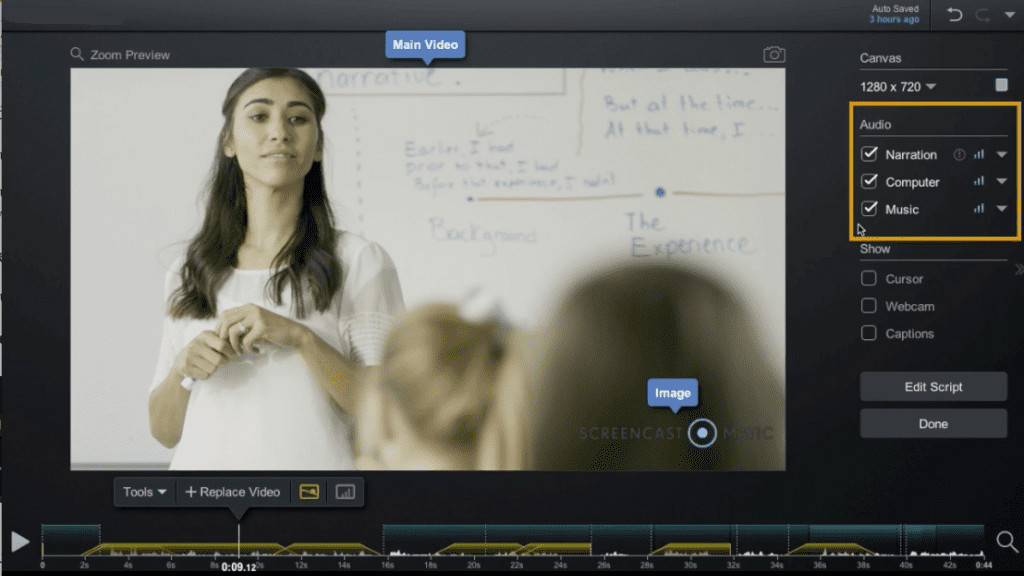
The first step, if you want to screencast a lesson, is to get a software that will do that. This means something that will capture a video of your screen and allow you to record audio over the visuals. Ideally, this will also let you edit so you can cut out any mistakes, long pauses, or anything not connected to the lesson.
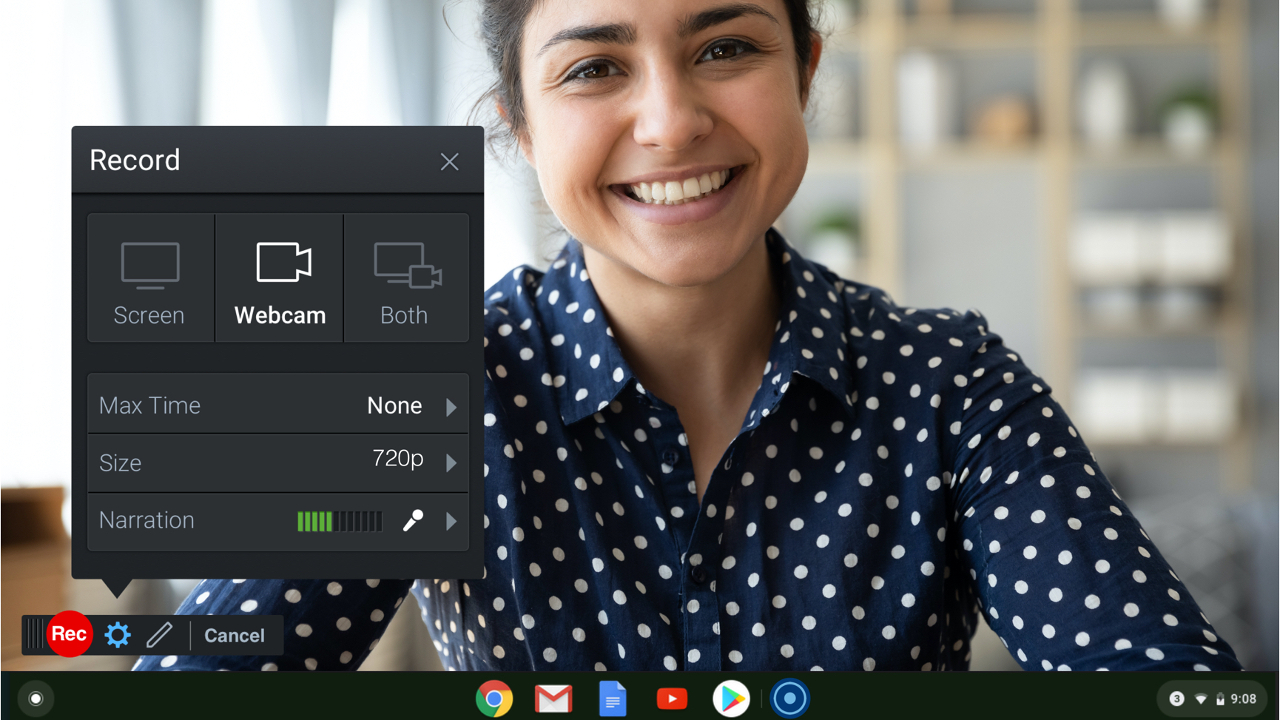
This software works a bit like a screenshot but with much more depth since you have video, audio, text, and editing options in many cases. Combine this with a webcam and you're able to have students see your face, in a box in the corner, as you work through the lesson -- making it far more life-like and immersive. You can also combine a document camera if you want to do real-world experiments or use physical documents -- great for grading homework one-on-one.

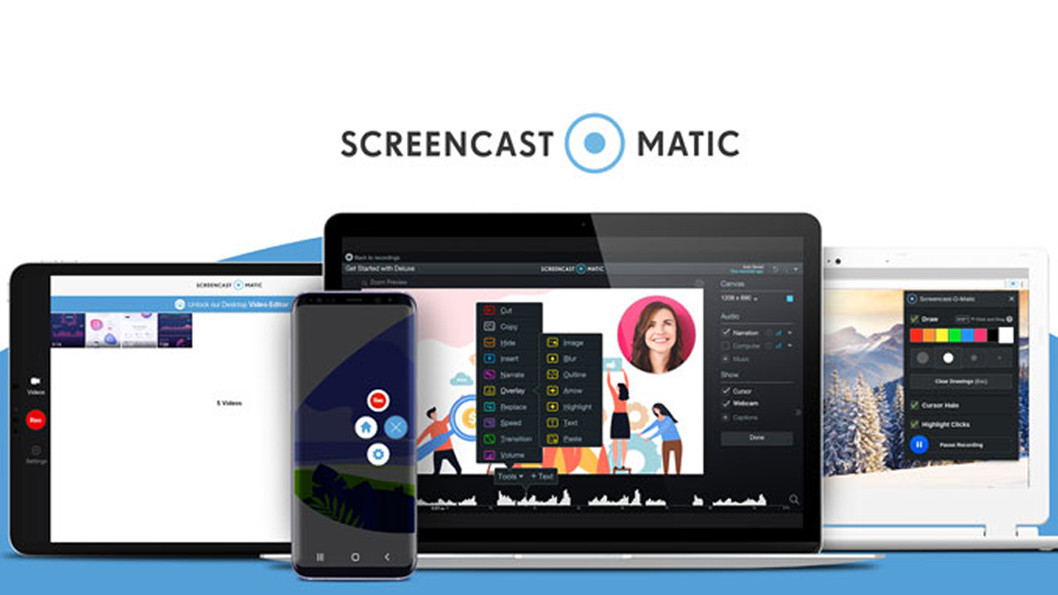
Screencast-o-matic is a great option as it's specifically built for this task. It works across a range of devices, allowing you to record and view on differing devices, ideal for students who might want to view the screencast from a smartphone. This includes video and image screen recording as well as editing. You can even blur parts of images, add graphics, and record from multiple cameras at once.
Tools and ideas to transform education. Sign up below.
A free version is available as well as a paid plan, with more premium features, however, as a way to get started, this offers the best combination of ease of use and helpful tools.
How to screencast a lesson
Once you've got your screencast software you'll need to first plan your lesson. Some may want to rehearse before beginning so everything runs smoothly. Others may prefer to work it out on the fly and potentially spend more time editing later – it really comes down to what works best for you.
It's worth checking out the best headphones for teachers and the best ring lights to make sure you have the clearest and most engaging setup. And should you run into issues check out our guide: Why does my webcam or microphone not work?
Once you've setup an account and logged into your software, you'll be able to get recording. It pays to have all the windows open you need before you get started. Similarly it's a good idea to close anything not needed to make sure you maximize memory available to the recording software, so you get the smoothest end result.

For the recording itself be sure you're in a quiet place and you have minimal distractions in your background when recording. Equally, make sure your computer's home screen is clear so there aren't distractions should that pop up when moving between windows.
It can pay to have an external microphone, or decent headphones, if you want to your voice as clear as possible. Some people script their screencast for truly smooth flow, but sometimes trial and error is good to see what works for you.
Remember to turn off any notifications so there aren't distracting pop-ups during your screencast.
When picking the resolution size it's worth noting that while you can record in 1080p, a 720p version will be more than enough and helps to keep file size smaller, making it more manageable for all devices.
Once you're done, be sure to save the video and share it in MP4 format so that it can be viewed on most devices. Even better is to upload to YouTube so you know it'll be easily accessible no matter what devices are being used to view it. This can also make inserting it into an LMS, such as Google Classroom, easier.
Best Tips To Screencast A Lesson
Record audio separately
While it can be easy to record audio as you work through what's on screen, it may actually save you more time to record the audio afterward as this allows you to re-edit and make changes to what you're saying without have to re-record the video processes too.
Be concise
Don't be afraid to cut significantly in the editing process. The key to sustained engagement is minimalism that gets the point across without any time-wasting waffle. Think about your own viewing preferences and how you often appreciate getting quickly to the crux of the matter.
Bookend your videos
A short intro and outro to give your screencast a more professional feel is a useful touch. Give a 15-second or so intro and outro to help settle students into what's going to happen and, in the case of outro, to know what they're required to do next.
Luke Edwards is a freelance writer and editor with more than two decades of experience covering tech, science, and health. He writes for many publications covering health tech, software and apps, digital teaching tools, VPNs, TV, audio, smart home, antivirus, broadband, smartphones, cars and much more.
