7 Tips for Capturing High-Quality Video of Classroom Teaching

The abundance of easily-accessible mobile devices such as smartphones, tablets, and laptops has made it easier than ever for video to become an embedded part of the teaching and professional learning process.
Whether using video for reflective professional development or integrating it as part of a project-based learning assignment, it is important for teachers to think like a movie director when capturing video in the classroom.

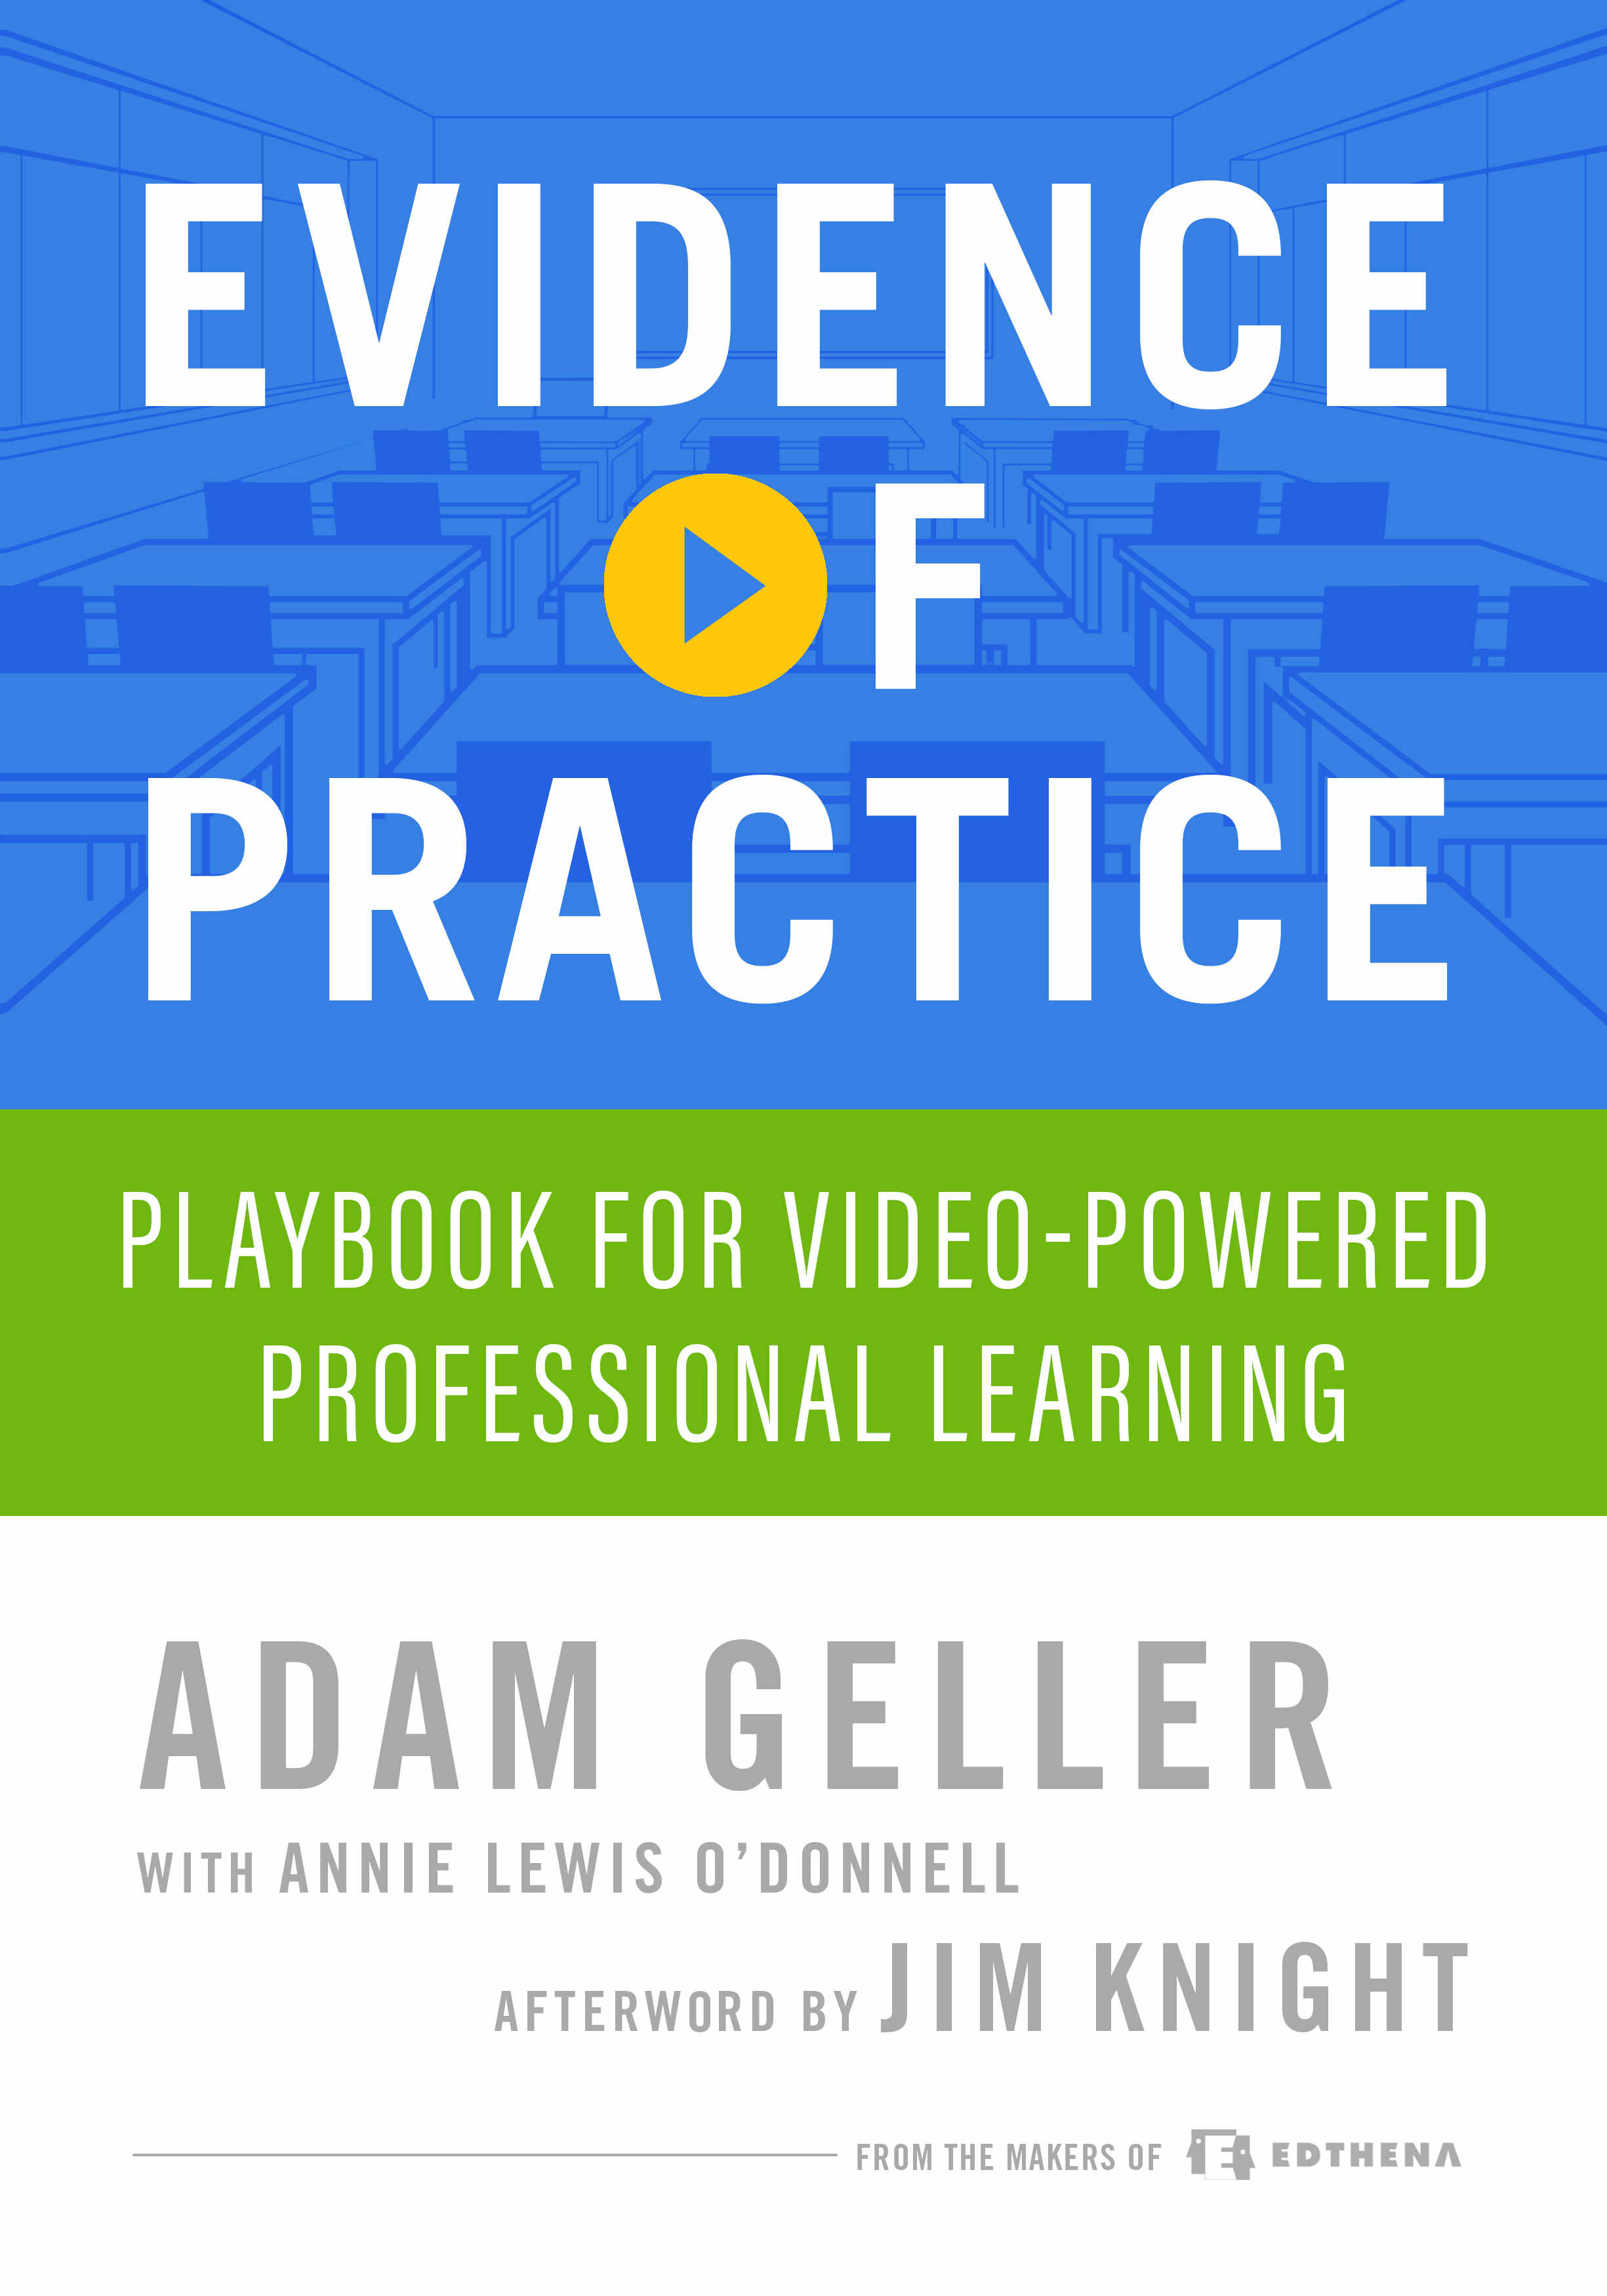
As highlighted in the book “Evidence of Practice: Playbook for Video-Powered Professional Learning,” teachers should first and foremost ensure that the recording device is common and easy to use. A device that requires a check-out from the school’s media center and extensive setup is less ideal than a camera readily available in the classroom.
Once the technology is in place, teachers can use these best practices to capture high-quality video the next time they hit record:
- Ensure even lighting. It is important to have uniform lighting in a room to avoid harsh backlighting that makes the subject appear dark. If possible, situate point the camera away from a bright window or other light source.
- Frame the shot. Make sure the camera is facing the subject of the video and that everything fits in the frame.
- Steady the camera. Place the camera on a flat surface, prop it against a book or wall, or use a tripod or flexible stand to avoid a shaky, hand-held shot.
- Clean the lens. Fingerprints or smudges on the device’s lens will can ruin an otherwise perfect shot. Make sure to clean off the lens before hitting record.
- Avoid background noise. Make sure the camera is away from any machine or object – such as a fan or air conditioning unit – that might add background noise.
- Keep in mind the microphone. Regardless if the camera is using an external mic or a built-in one, make sure it is not blocked by a finger or muffled by a case.
- Get close to the source. Place the camera as close as possible to the source of the audio to avoid any unwanted sounds, such as students whispering or papers shuffling. Since microphones are designed to pick up all noise, the closer the microphone is to the source, the better.
If you’re having troubles with the sound quality, consider using an external microphone. There are many cost-effective options that are plug-and-play easy.
And when you’re feeling ready to put your skills to the test, try starting with a classroom tour, or a short video of your classroom organization, to practice your video skills. It’s a low-risk way to become comfortable with the technology while also adding benefit to those who will observe your classroom teaching at another time.
Adam Geller is the founder and CEO of Edthena, a video coaching platform for teacher professional development. A former classroom teacher, he is also the author of “Evidence of Practice,” a playbook to help school leaders implement video within professional learning for teachers.
Tools and ideas to transform education. Sign up below.
