Best Keynote Tips and Tricks for Teachers
Build great looking and engaging presentations that are ideal for education in class and remotely

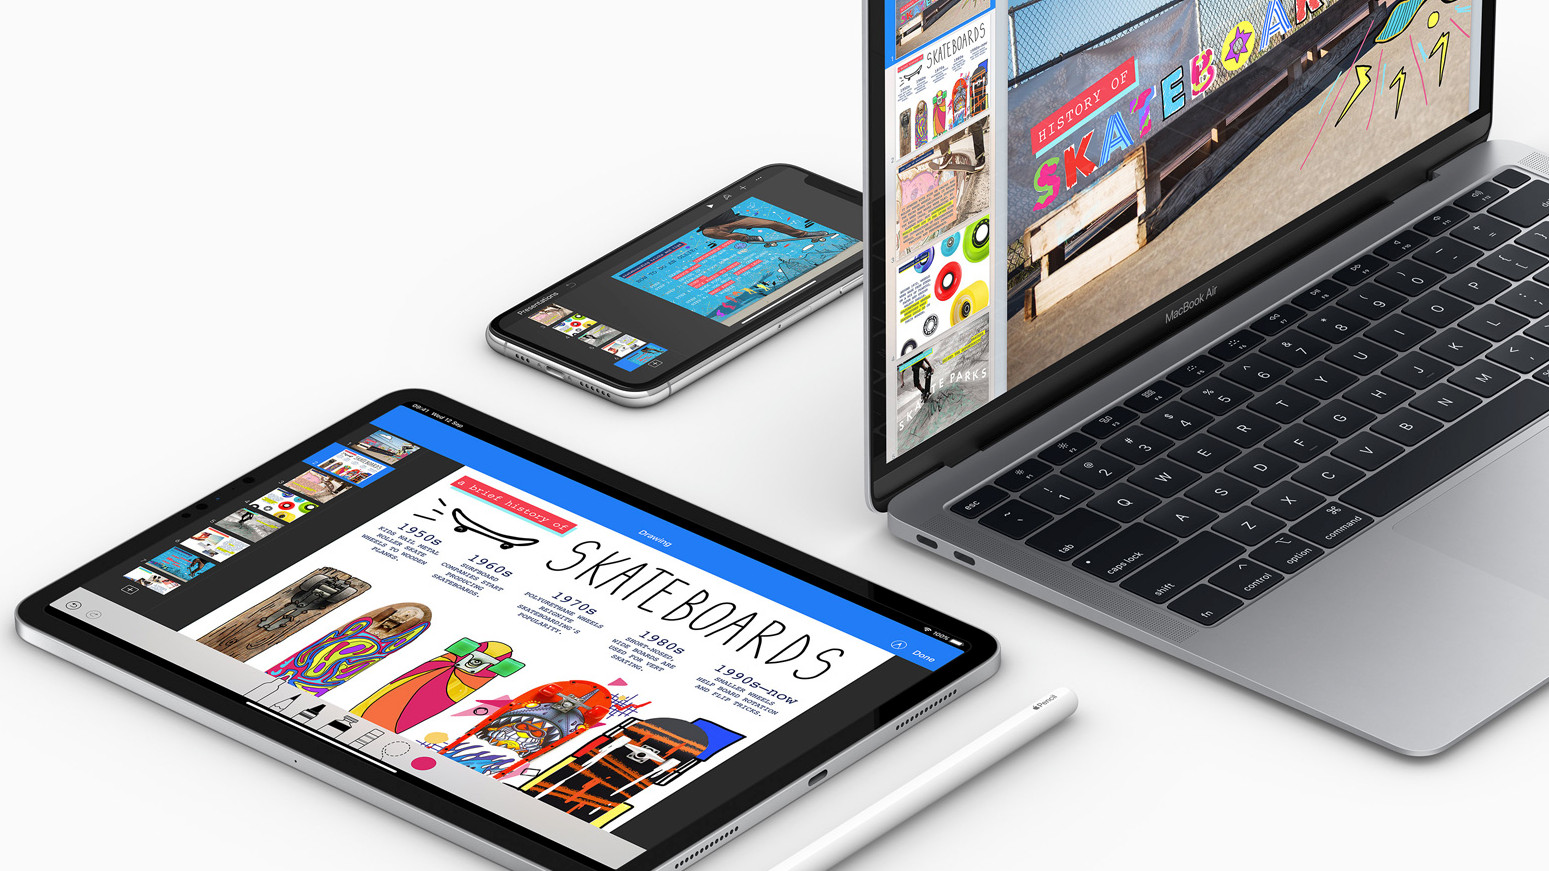
The best Keynote tips and tricks can help you, as a teacher, get the best out of this presentation tool, which is a great platform for education, both in the classroom and for remote learning.
Apple offers a host of cinematic transitions and effects that can help to make any subject engaging and entertaining for students. Equally, this is a platform that allows students to create projects, in collaboration, which can be presented or shared with the class.
Working across Apple devices, and PCs with iWork, this is easy to access and simple to use - plus it's free. But with the right tips and tricks, it can be even more powerful.
Read on to find the best Keynote tips and tricks for teachers.
- What is Adobe Spark for Education and How Does it Work?
- How to setup Google Classroom 2020
- Class for Zoom
Share a slide movie
Keynote is a slide show, at its most basic, but you can layer so much rich media extras that the final result can be a cinematic experience. One way to use this to best capture the attention of students is to send a movie-style slideshow.
Do this by creating your presentation and overlaying your voice recording as well as any other audio, such as music, to add more impact. Video can also be included to help add flow to the project.
To do this, select the record option and capture your slideshow as you work through it in real-time, adding commentary as you go. You can then output this as a video to share via platforms such as YouTube. This allows for it to be shared with just a link so it can be viewed on most devices.
Tools and ideas to transform education. Sign up below.

Use Apple Pencil creatively
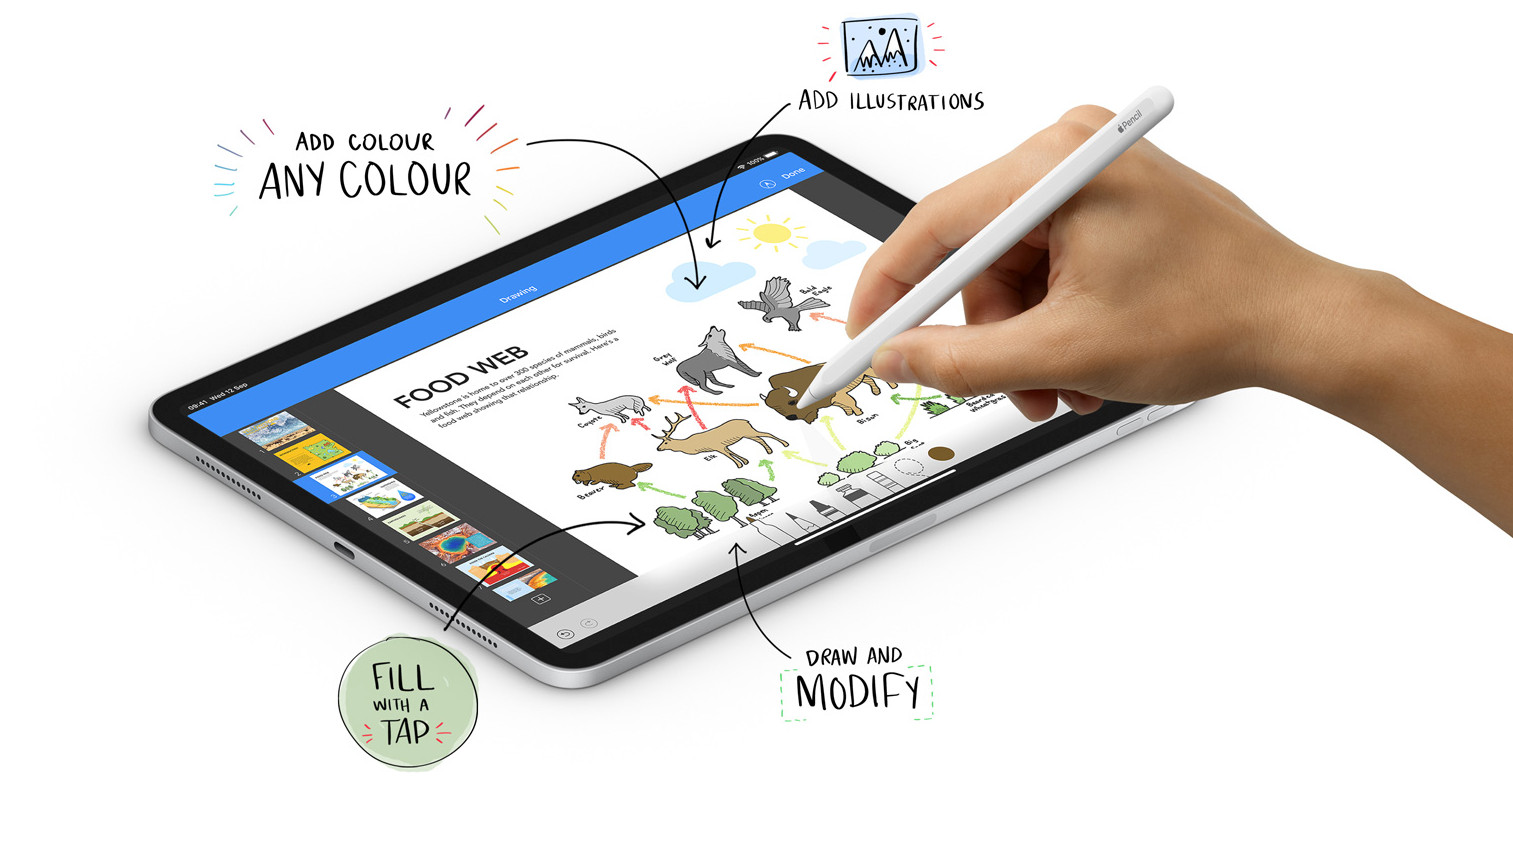
Apple Pencil works with Keynote, allowing you to create objects and images from scratch with the stylus and a compatible iPad. Of course, you can also create plenty without the Pencil, it just gives you more creative freedom and options when you use this device.
Pencil allows you to convert handwriting to text, make your own drawings, and scroll quickly through a presentation. By default, the Apple Pencil will work in writing and drawing view. To use for scrolling, you'll need to change the default settings.
Keep in mind that if you're using Scribble – the handwriting to text feature - within a text box, you can write outside the box and it will still be converted to fit within that box space, as text.
Use Keynote like a chalkboard
A fun way to teach as if you are using a chalkboard is to create that within Keynote. The platform allows you to have lots of blank boards at the ready, as new slides, which you can write onto directly. Move on and then you have that last work saved to refer back to later. It effectively allows you to teach a class and have it all saved to share with students afterward.
Since Keynote can be shared live, you can share your chalkboard presentation with the class even when they are working remotely from home.
To recreate that classroom feel, you can setup chalkboard by selecting a background that looks like a chalkboard – pulling in an image from a web search is a good option here – and then using the Apple Pencil with the crayon mode that ends up looking like real chalk, available in a host of color options.

Get students to work collaboratively
Students can use Keynote as a way to present projects. Doing so teaches them how to master a valuable tool while at the same time making a project that can be shared with the entire class so everyone else learns the subject matter as well.
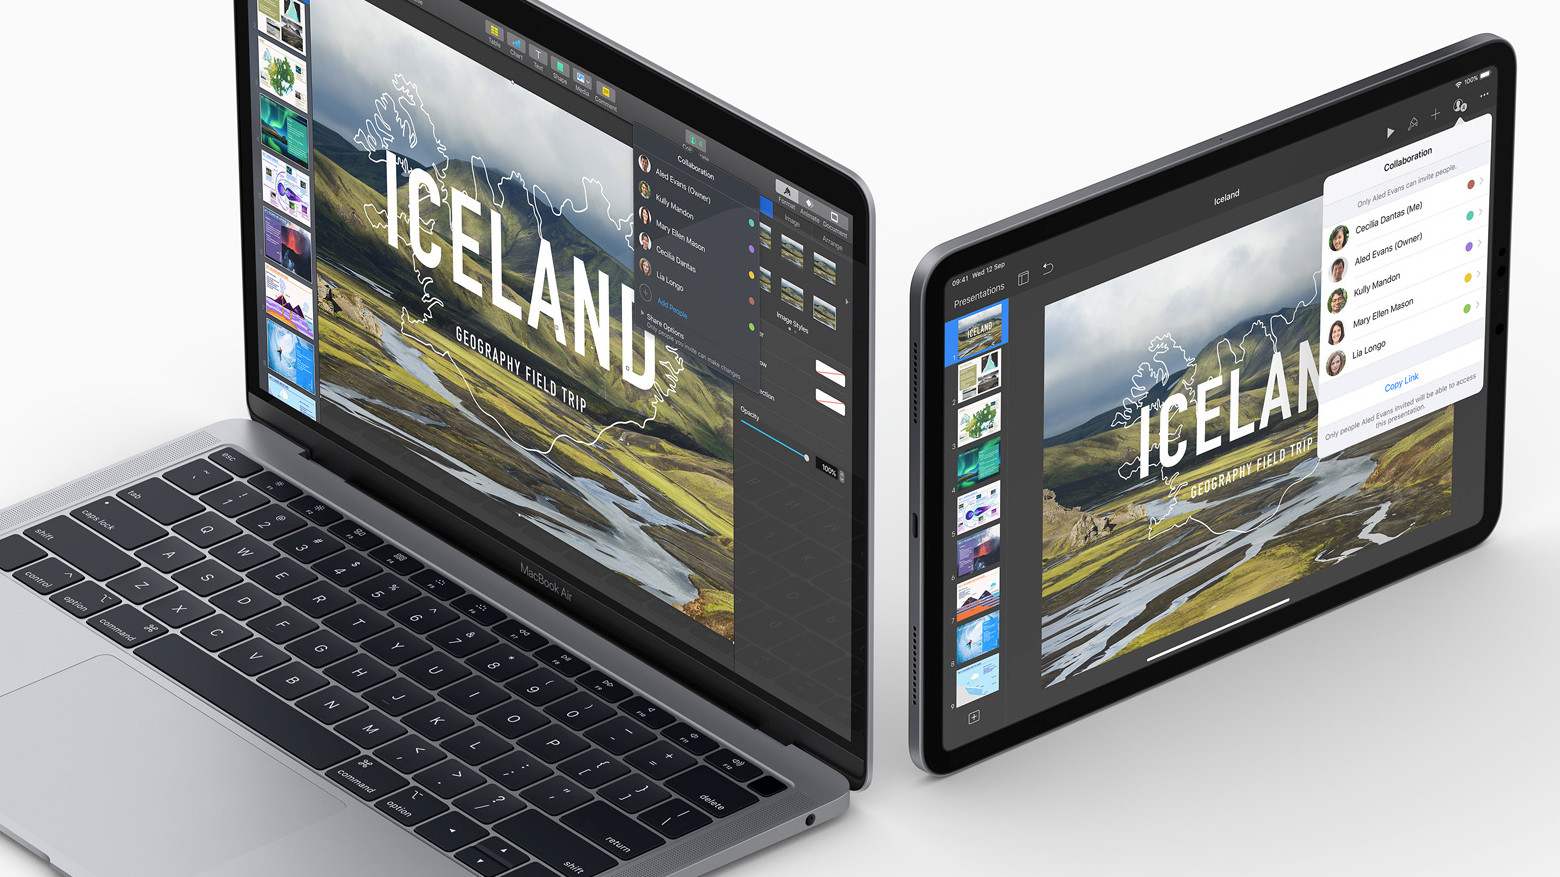
Get students to also build teamwork skills by grouping them up and having them collaborate on projects. Keynote has a specific collaboration feature that allows multiple people to work on one project. Everything is saved in the cloud so that it can be edited from various devices in any location. This make it ideal for remote learning.
Share a Keynote Live broadcast
Keynote Live allows you to share a presentation as it is happening. This means you can have students in their homes, being taught remotely, all viewing your presentation at the same time.
The advantage here is that you can either have your voice recorded over the presentation, and let it play, or be live over video talking as you go. Either way, the students all get the same experience at the same time.
Use remote as you present
Keynote allows you to control one presentation with another device. So you could have your Mac connected to a display showing the presentation while you control it using your iPhone or iPad. One advantage here is the freedom it gives you as a teacher to move about the room.
Another big pull is the ability to annotate and doodle on the presentation in real time. You can treat the slide like a whiteboard, to which you can add details – perhaps as you discuss it with the class – right from your device.
Luke Edwards is a freelance writer and editor with more than two decades of experience covering tech, science, and health. He writes for many publications covering health tech, software and apps, digital teaching tools, VPNs, TV, audio, smart home, antivirus, broadband, smartphones, cars and much more.
