How To Set Up A Laptop Docking Station For Remote Teaching
Connect a laptop quickly and easily so you get the benefits of a monitor, and more, without wasting time when you move

Tools and ideas to transform education. Sign up below.
You are now subscribed
Your newsletter sign-up was successful
How to setup a laptop docking station for remote teaching is an important skill to learn in these days of multi-location schooling. This applies both to teachers and schools.
Having a laptop docking station means you only have to plug in one or two cables to get connected quickly and easily for a desktop setup. That can mean outputting to multiple larger monitors, a mouse, a keyboard, speakers and microphone, or headset. And more!
The key here is that a laptop dock frees up teachers to move between classrooms or even teach from home, without wasting time connecting devices. Ultimately, a dock makes for less time connecting devices and more time for instruction.
So how do you setup a laptop docking station for remote teaching? Read on to find out everything you need to know.
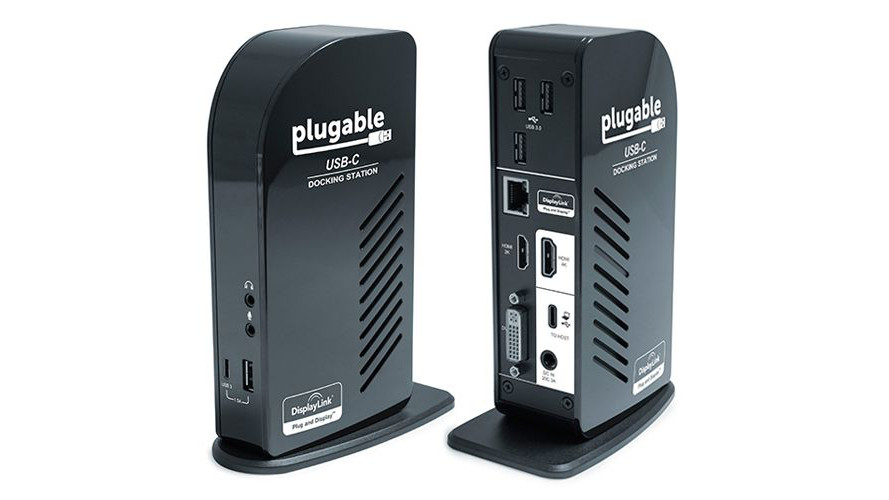
Pick the best laptop docking station
Make sure you have been through the best laptop docking stations for teaching to find the right one for your needs. What you should assess is what you actually require, whether you're buying for district or as a teacher for yourself at home.
Do you simply want to get your laptop to output to a monitor so you can work on a larger screen at home? Or would multiple screens at higher resolution, such as 4K, be helpful since it can mean having a lesson plan open as well as a video class with all the student windows on one display?
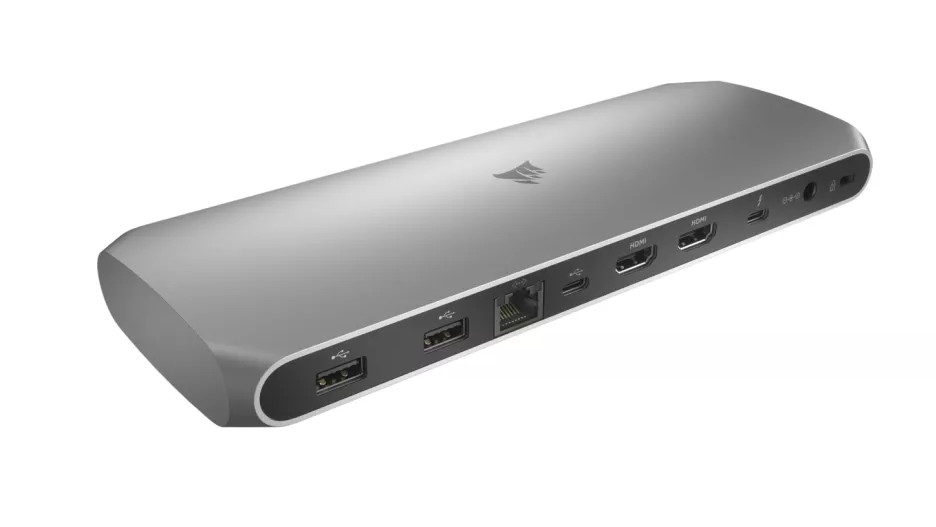
Check your monitor connection
The types of monitor are also important as that determines the ports you need on the dock. If your school has one type but at home there is another, then you'll need a dock that can offer multiple output options, or a different dock at each location.
Tools and ideas to transform education. Sign up below.
This applies to laptops too. Since there may be a mix of personal and school-supplied laptops, it could require different dock connections in order to work. Generally, it's best to get the highest number of connections while keeping the cost down.
Of course you also have to keep bandwidth in mind. USB 2.0 might be fine for some devices, such as a mouse or keyboard, but for larger gadgets you may need a faster and more powerful USB 3.0 connection. Which brings us to power.
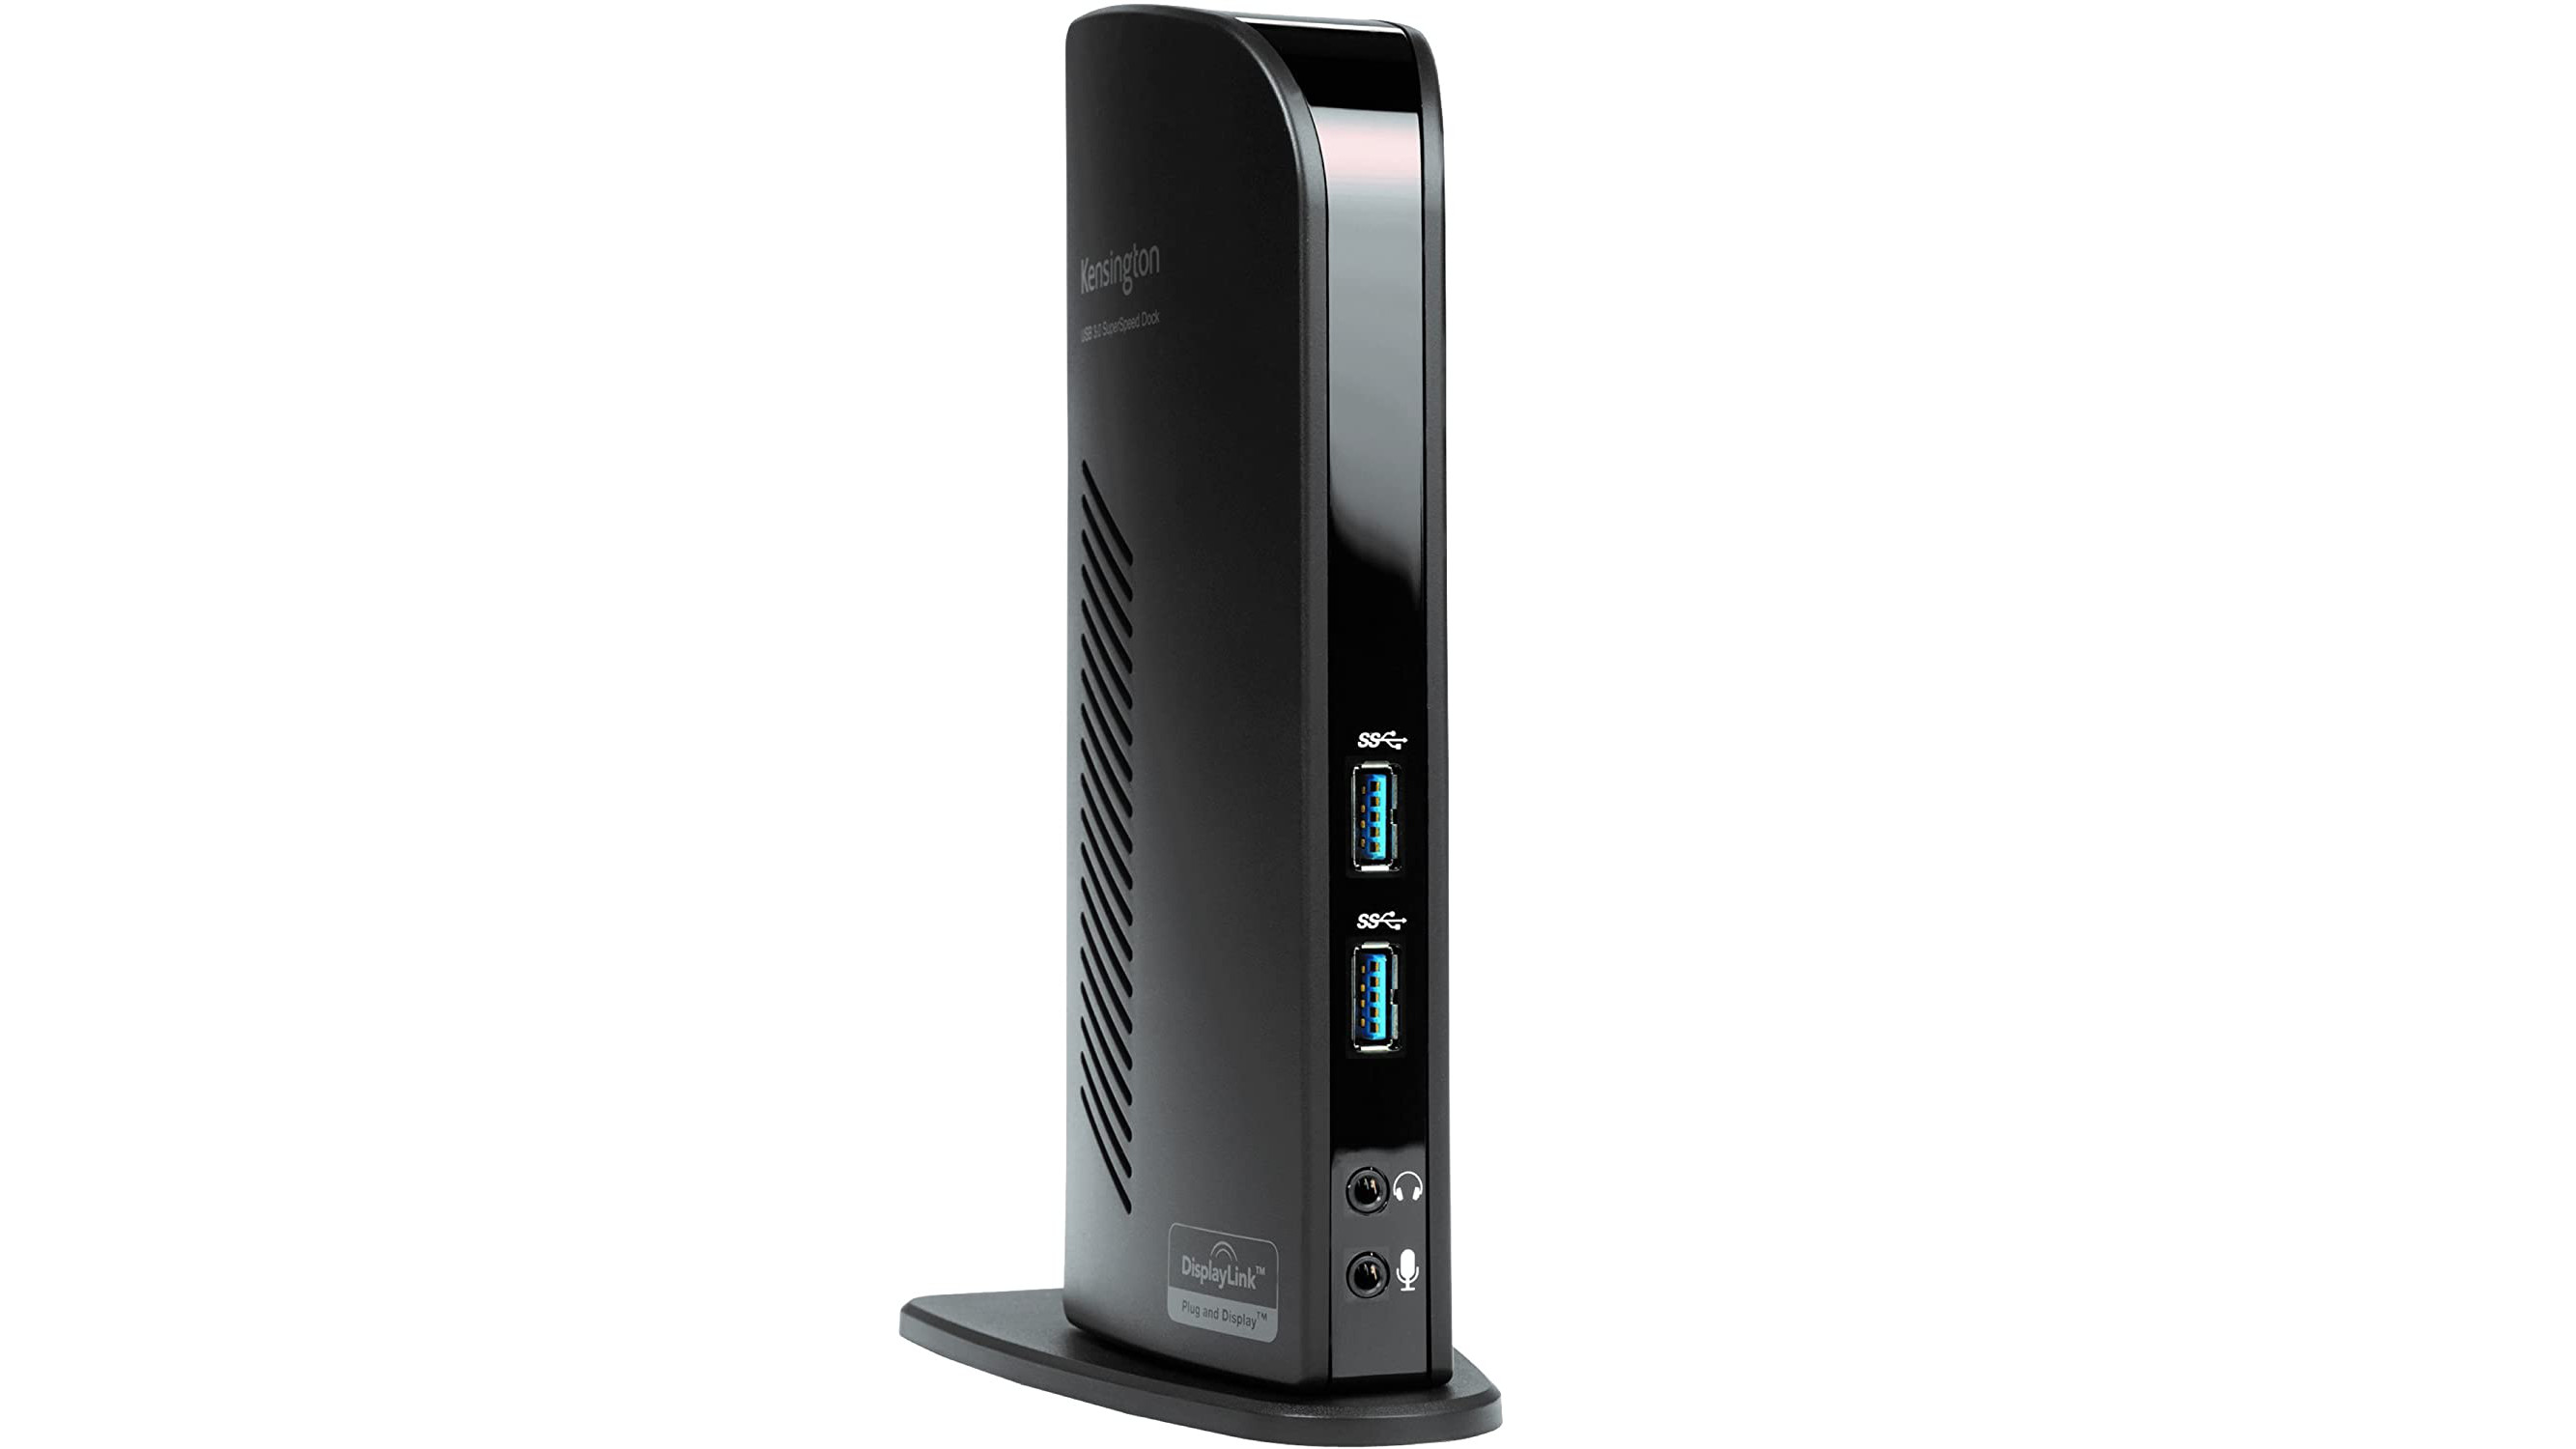
Charging up from the dock
It's also worth thinking about whether you need the dock to charge your laptop, too. At school, this could be helpful as it could mean leaving your charger plugged in at home. Since many devices vary, this is usually a dock-specific feature. So you might have Thunderbolt 3 or USB-C as charging connections.
If you want more than one connection option that charges multiple laptops, you'll need to spend a bit more. It's also worth noting the wattage that is available as certain devices won't work with lower outputs. A general guide is that 60W should limit you to 15-inch laptops and below – but, of course, even this varies depending on the device.
Check that you have space
A laptop docking station isn't a huge piece of equipment in most cases, but it does still take up room. So, if you're limited on space, consider a more compact dock.
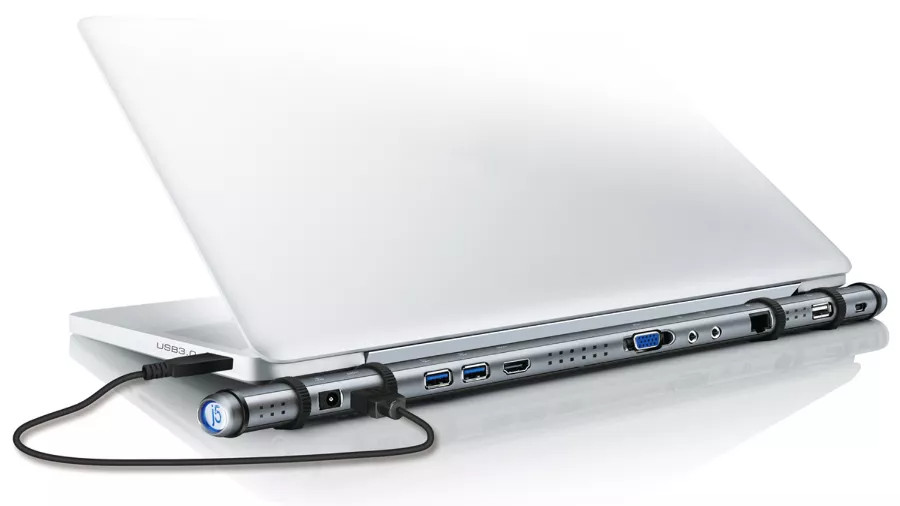
Some docks are stand up, with the connections towering in line to take up as little desk real estate as possible. Others act as a base or stand for the laptop, sitting under the device itself and even angling it for better viewing in some cases.
There are a few options that clamp to the back of a desk and then attach directly to a monitor. These are very discreet and keep cables to a minimum, but expect to pay more for the privilege.
Keep a lock in mind
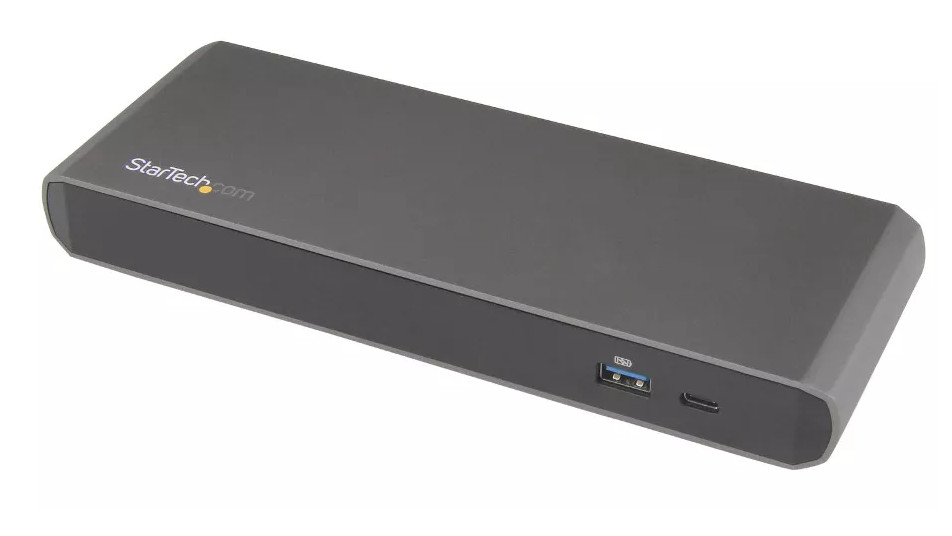
Some laptop docking stations come with the Kensington security lock. This means the docks itself will remain attached to whatever that is secured to and require a key to be removed. These are typically found in offices but could be useful in schools where a more expensive dock needs to be kept secure.
You probably won't need this if you're buying a dock for at-home use, so it's only worth keeping in mind so you don't end up paying for a feature that you won't end up using.
Are cables a problem?
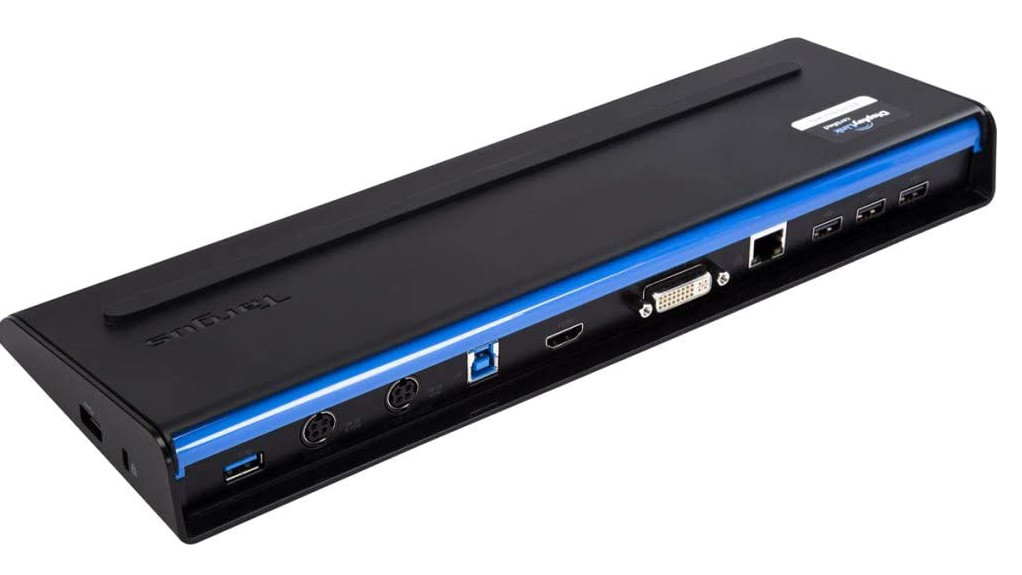
Depending on how minimal you need your desk to be, it's worth keeping a few options in mind. Essentially, if you go for a more affordable model of laptop docking station, cable tidying likely won't be thought about. However, at the higher end, there are some models designed to hide cables for the neatest look.
That said, it's easy enough to use cable tidying cords or tape to do this yourself. So you could make a saving and still keep unsightly cabling to a minimum – maximizing desk space - without blowing your budget.
Physically set up your dock
Setting up the dock is a straightforward process that you only have to do one time. Once everything is set, all you need to do is plug in your laptop each time.
First, find a good spot for your dock that won't get in the way and is somewhere it can stay semi-permanently. Then you need to plug into it all the cables from external devices such as a monitor, mouse, keyboard, speakers, and so on. If the dock also offers power then you'll need to have it close enough to a socket so it can be plugged in.
Once everything is connected then you simply need to connect your laptop via the input cable the dock uses. This will vary depending on your laptop but is going to be either USB 3.0, USB-C or Thunderbolt 3, most likely. You can leave this cable in the dock so each time you connect, all you need to do is pop your laptop down and plug that in before you power up and get running with your setup of connected devices.
Luke Edwards is a freelance writer and editor with more than two decades of experience covering tech, science, and health. He writes for many publications covering health tech, software and apps, digital teaching tools, VPNs, TV, audio, smart home, antivirus, broadband, smartphones, cars and much more.
