No matter what you do, the video stream in your online lessons sputters, freezes up and loses its audio synch resulting in a classroom comedy of errors. Some of this is out of your hands with Zoom, Hangouts, and Teams networks overloaded to the breaking point. But there’s a major thing you can do to your Wi-Fi network to keep up with the demands of online video teaching.
A Wi-Fi extender can boost your bandwidth to where it needs to be. Basically, an extender is a combination receiver-transmitter that takes in a Wi-Fi signal, boosts its power, and retransmits. The result is the ability to push wireless data into new areas of the house.
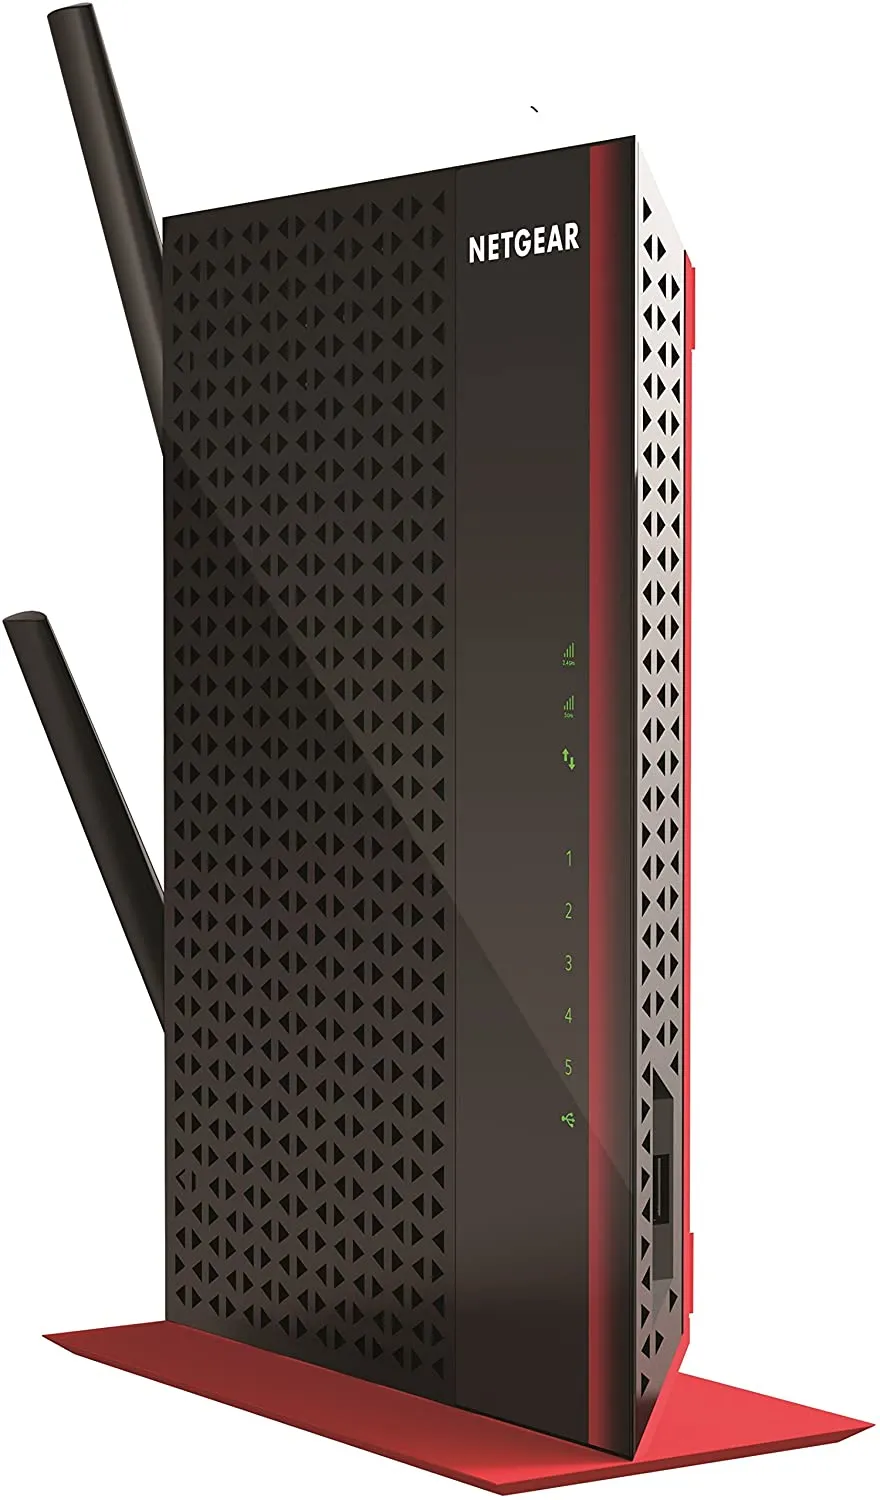
Expect that a good extender will cost less than $100 and take about 15 minutes to set up. Dozens of models are available, but I used Netgear’s EX6200 Wi-Fi Range Extender ($75) to show how to boost the data flow in an area in my house that doesn’t have enough of a Wi-Fi signal to support good video.
Before you do anything else, take a bandwidth reading using Ookla’s Speedtest.net benchmark site to provide a baseline reading to compare the final results with. Tap Go and wait a minute for it to test the location’s data speed. For me, I got roughly 2.5 Mbps but the speedometer dial varied wildly and that’s likely why video conferencing isn’t working reliably.
Picking the right location
With the preliminaries out of the way, let’s figure out where to put the extender. It’s just as important as what you use, so pick a spot near an AC outlet that’s roughly halfway between the home’s Wi-Fi router and where you want the signal to end up. For me, the best place is in a corner near a heating vent, down the hall from my teaching room.
The EX6200’s details that we’ll need later are printed on a pull-out sheet in the back of the extender; some have it printed on the device’s bottom. Also have your Wi-Fi’s name and password handy. Let’s get started.

1. The actual set up instructions vary from extender to extender, but they are similar. For the EX6200, it starts with plugging the unit in and changing my iPad Pro’s Wi-Fi setting to “Netgear_EXT,” the extender’s network name.

2. After it connects, open the iPad’s Safari Web browser and type “mywifiext.com” into the address bar. Then, tap New Extender Setup.

3. Next, create a Netgear account with an email address and password. You’ll need to answer two verification questions.

4. Tap to set up a wireless extender and the app will scan for the extender and your Wi-Fi network.

5. Then, it asks which network to extend along with its password.


6. You can pick a new name, but I use the host network’s name to ease roaming. Just type it in.

After a quick restart, the extender is working like a charm. I connected my iPad and based on speedtest.net’s benchmark test, it now gets over 70Mbps.
That’s plenty for video teaching and the video signal now comes through more dependably.


