Using Google Jamboard Before It Is Shut Down in 2025
While it lasts, Google Jamboard makes digitized learning in the classroom and beyond super intuitive and powerful

Tools and ideas to transform education. Sign up below.
You are now subscribed
Your newsletter sign-up was successful
This article was updated in September 2024.
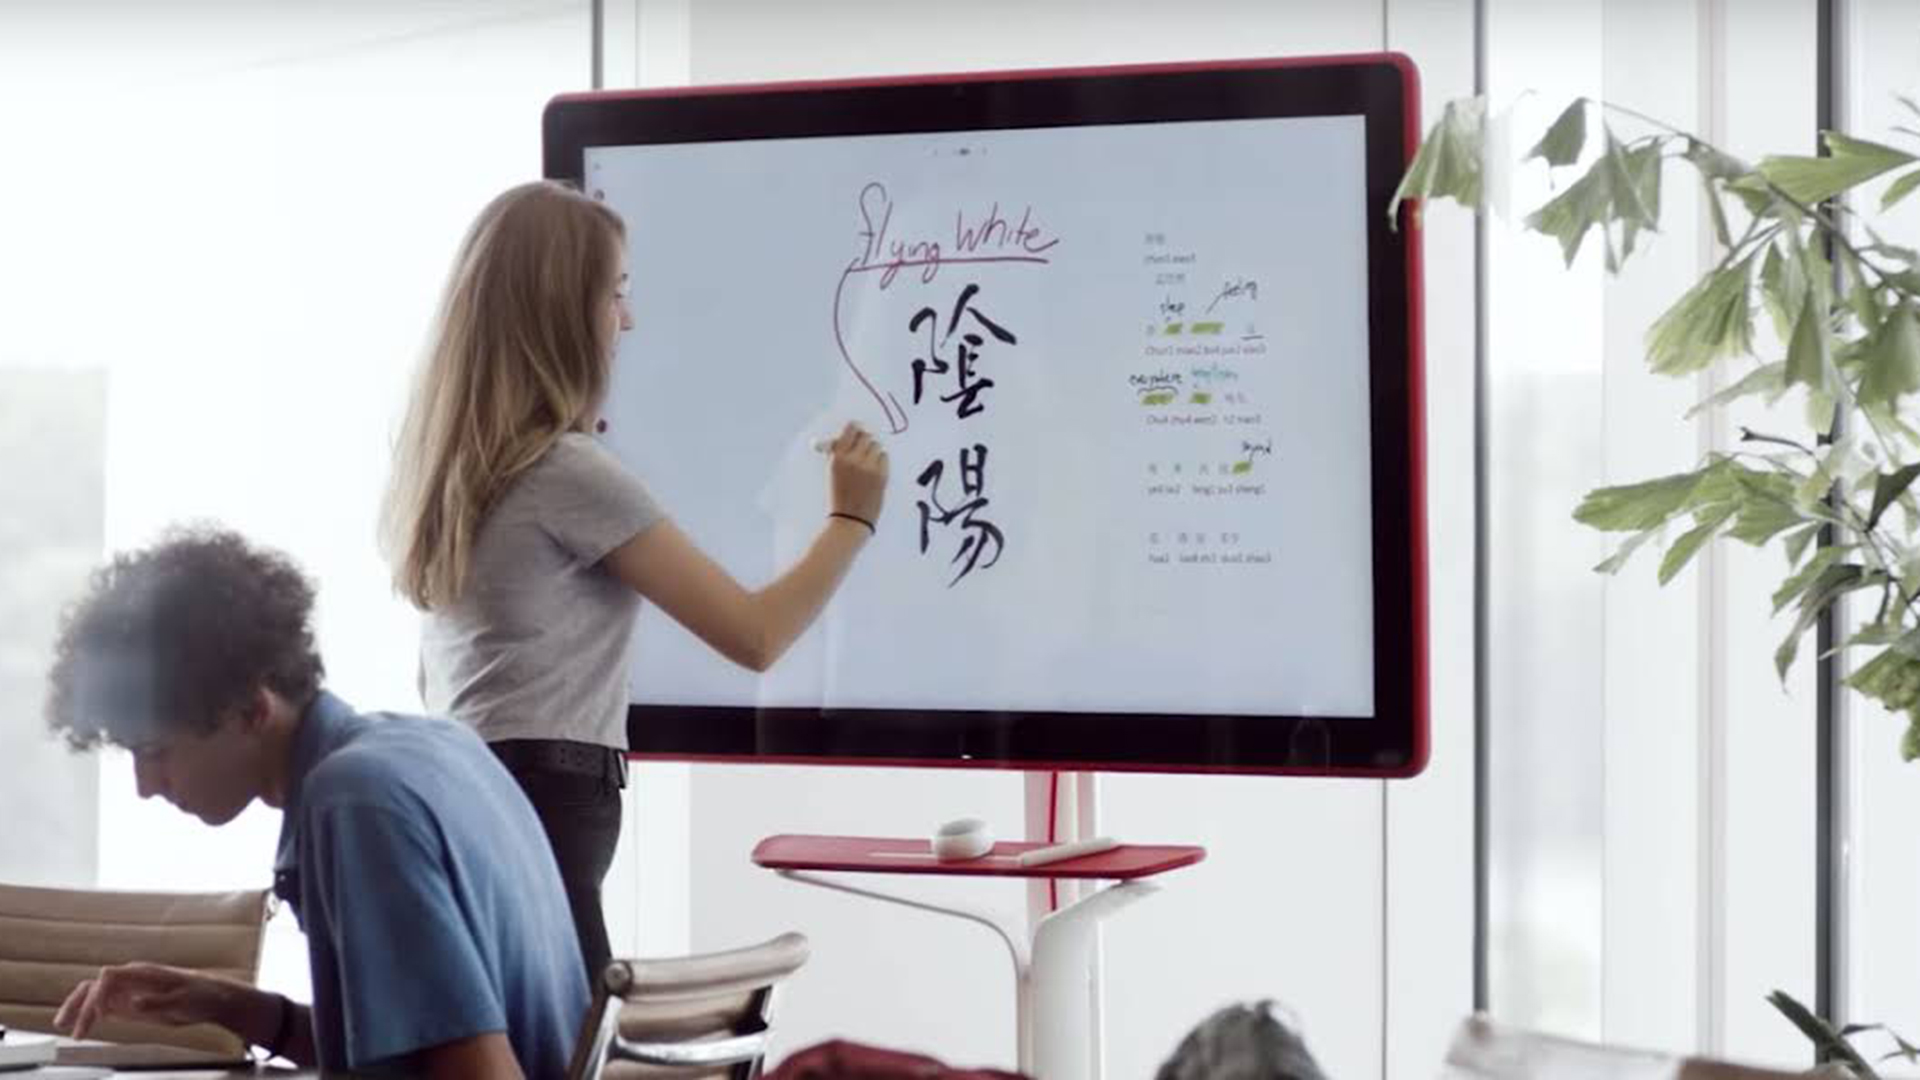
Google Jamboard is a smart combination of hardware and software that allows teachers to digitize the classroom in a powerful way. The idea is to offer a digital version of what is being taught so that it can be accessible online, and also transfer between classes, rooms, groups and even years.
While Jamboard is a helpful way to teach the class for a teacher, it can also be a useful collaborative tool for students. Since this works as a mobile app, or on a 55-inch cloud-connected digital whiteboard, it makes interactivity super simple. And that goes for in the classroom across devices as well as beyond the room.
Despite all this, Google is sunsetting Jamboard on Dec. 31, 2024. In its place, Google recommends users try whiteboarding tools such as FigJam by Figma, Lucidspark by Lucid, and Miro. More on this below.
While it's still available as a Google tool, it's super easy to use, works with lots of other apps, and makes pulling in media from Google searches a very easy process. This guide aims to lay out all you need to know about Jamboard for your classroom.
What is Google Jamboard?
Google Jamboard is an innovative tool that allows teachers to interact with students with a whiteboard-style experience, only digitally without being in the same room. It's essentially a giant digital whiteboard that can be used by any teacher for any subject, making it a great tool for schools to use right across the -- ahem -- board.
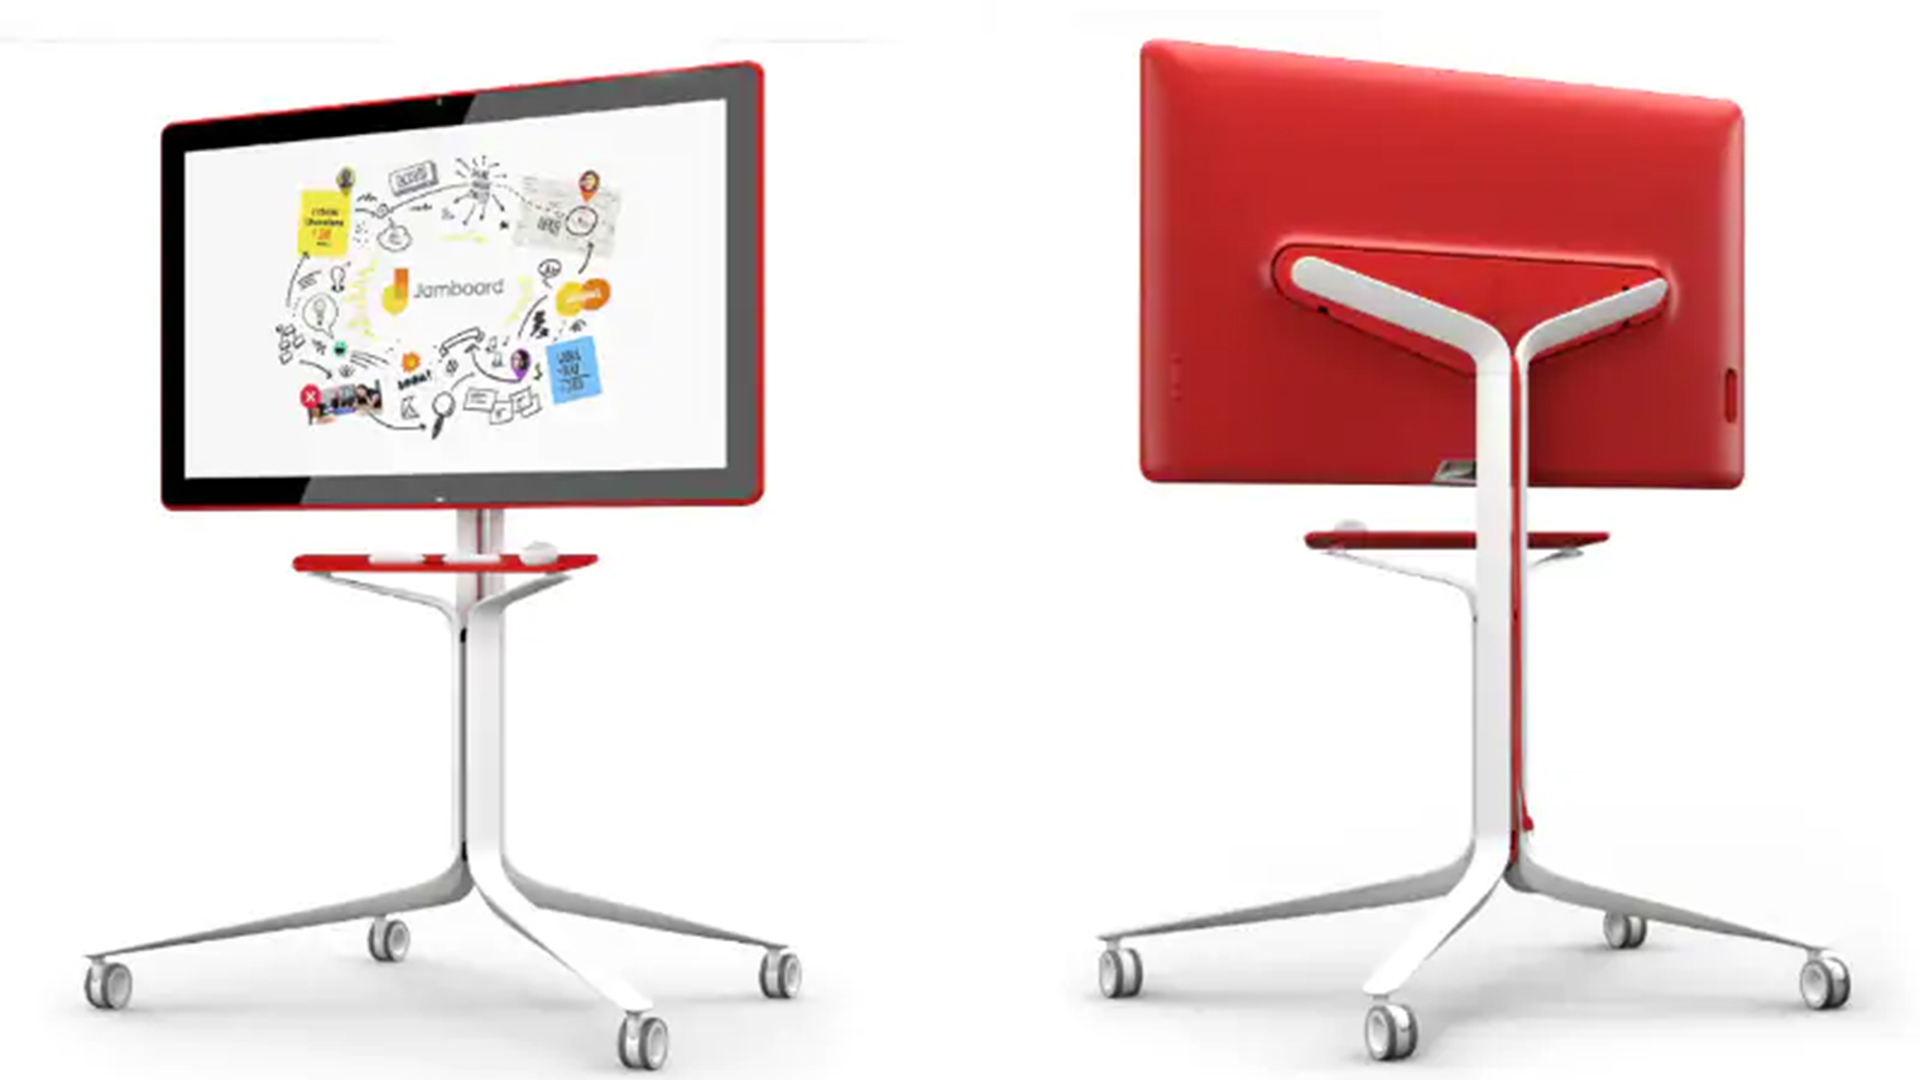
Jokes aside, Jamboard does require a hardware investment be made for the full 55-inch 4K touchscreen experience. This offers 16 simultaneous points of touch contact and wifi connectivity, plus handwriting and shape recognition. A Full HD webcam and two styluses are available, with an optional rolling stand that ideal for moving between classrooms.
However, Jamboard also works digitally as an app so it can be used on tablets, phones, and other devices. It'll even work via the web using Google Drive, so it is really widely accessible. Of course, it also runs on Chromebooks, albeit without the shape or stylus support, but it's still a very capable presentation platform.
Tools and ideas to transform education. Sign up below.
While Jamboard was designed with business use in mind, with a presentation kind of feel, it has been adapted widely and works well as a teaching tool. Lots of apps work with the platform, from Screencastify to EquatIO. So it need not be a from-scratch creative effort.

What's new in Google Jamboard?
As mentioned, Google is sunsetting Jamboard on Dec. 31, 2024. In its place, Google recommends users try whiteboarding tools such as FigJam by Figma, Lucidspark by Lucid, and Miro. Starting on October 1, 2024, the Jamboard app will become view-only. You’ll no longer be able to create new or edit existing Jams on any platform, including the web, iPhone, iPad, Android, and Jamboard devices. We will also start converting Jams to PDF.
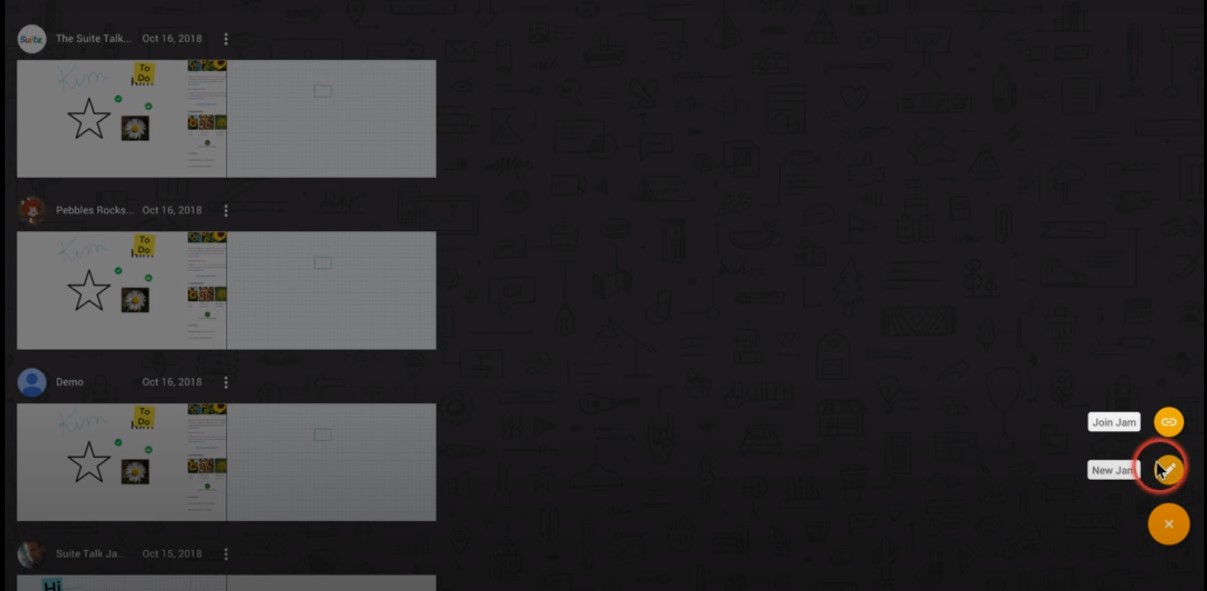
Over time, Google Jamboard has had regular updates. Recently, the new homescreen update lets you now view all your Jams as a list or as a grid for the easiest access to suit your needs as a teacher. And should you wish to share these Jams, that's easy now with a simple link generated that you can share in whatever way is easiest for you.
Other updates have included redesigned drawing tools, the ability to star or copy a jam from the homescreen, a new homescreen design, and enhanced app usability.
How to Use Google Jamboard
At its most basic, Jamboard is a great way to work through information with a class. This can be done remotely using the app, and could even be used with multiple devices to also incorporate Google Meet, as if you were all in the room together.
Of course Google Jamboard is also a great tool for integrating with Google Classroom since it is able to utilize Google Drive materials that are likely already being used by those who work with Classroom.
To access Jamboard, simply sign into your Google account, or sign-up for free. Then, when in Google Drive select the "+" icon and go down to "More" at the bottom, then down to select "Google Jamboard."
Alternatively, you can download the app for iOS, Android, or using the Jamboard web app. Create a Jam and add up to 20 pages per Jam that can be shared with up to 50 students at once in real time.
Jamboard works with many apps, a process called app smashing. Here are some great examples that can help make teaching more engaging.
How to Create a Jam

To create a new Jam, find your way into the Jamboard app online, via the app, or using the physical Jamboard hardware.
In the board hardware, you simply need to tap the display when in screensaver mode to create a new Jam.
For mobile users, open the app and tap the "+" to get a new Jam started.
When using the web-based online platform, open the Jamboard program and you'll see a "+" which can be selected to get your new Jam up and running.
Your Jam will automatically save to your account, and can be edited as needed.
Getting Started with Google Jamboard
As a teacher using Jamboard it's good to start by being open and being ready to take a risk. This is a new technology that allows you to be creative and to try new things.
Let the class know you're trying something new, that you're vulnerable but you're doing it anyway. Lead by example so they feel they too can express themselves even when it may feel uncomfortable or they risk failure. That's the next tip: Don't be afraid to get it wrong!
Share what you're doing with Google Classroom – more on that below – so that even children away from class that day will be able to see what they missed.
When working in groups be sure to label each frame so that students can refer back and easily find the page they're working on.
This sample Google Jamboard lesson plan is designed to implement the tool into instruction.
Top Tips for Easier Jamboard Use in Class
Using the Jamboard is relatively simple, and there are lots of shortcuts available to help make it more interesting and engaging for students.
Here are some useful tips:
- Use pinch to zoom to make pictures larger to quickly zoom in.
- When searching for an image, look for "GIF" to get moving images that kids love.
- Use handwriting recognition to input rather than keyboard for speed.
- If another teacher accidentally shares to your board, double tap the power button to cut it off.
- Use the palm of your hand to quickly erase anything on the Jamboard.
- Use Auto Draw, which will take your attempts at doodles and make them look better.
Google Jamboard and Google Classroom
Google Jamboard is part of the G Suite of apps so it integrates nicely with Google Classroom.
Teachers can share a Jam as an assignment in Classroom, allowing students to view, collaborate, or independently work on it as with any other Google file.
For example, create an assignment in Classroom, attach a math lesson Jam file as "Make a copy for each student." Google does the rest. You can also select "Students can view," which allows read-only access to a single Jam, if that's the way you need to work.
Google Jamboard and Screencastify
Screencastify is a Chrome extension available from the Chrome Web Store that can be used to record teachers using video. This is a great way to walk through a presentation, such as solving an equation, so the kids get the experience as if the teacher is really there by the whiteboard.
An easy way to use this is to create a new Jam as a whiteboard with a notebook or graph-style background. Then write math problems to be worked through on each separate page. Screencastify can then be used to record the process and that can be attached to each separate page so students have a specific guide video for each separate problem you present.
Google Jamboard with EquatIO
If you go into Texthelp in the Chrome Web Store you can get the extension EquatIO to use with Jamboard. That is an ideal way for math and physics teachers to interact with the class.
Create a Google Doc and name it after a lesson or book chapter. Then use EquatIO to create math problems and insert each into the Google Doc as an image. Then all you need to do is copy and paste the images into page on a Jam and you've got yourself a digital worksheet.
Google Jamboard best tips and tricks
Use shapes to highlight
Integrate the frame boxes to highlight certain words or numbers with color so these pop out at students and draw attention as you need.
Annotate
Use annotation to screen grab text and drag it in with comment boxes created for students to interact and add feedback.
Write as a class
Have students work as a group adding images and text to build a story as a group, in which the ending is a natural and creative effort as a team.
Luke Edwards is a freelance writer and editor with more than two decades of experience covering tech, science, and health. He writes for many publications covering health tech, software and apps, digital teaching tools, VPNs, TV, audio, smart home, antivirus, broadband, smartphones, cars and much more.
