
Flip vs Padlet is a comparison on the mind of many an educator, as each tool offers powerful ways to use video in teaching -- but which is best for your class?
This guide aims to lay out all the best, and less helpful, features of the tools so educators can work out what it is they could use in class and what, perhaps, they can do without. The end result should be a tool to help connect with students using video, which can mean better learning engagement for a wide range of students.
In the case of each of these tools, these act as digital spaces to host and share media that can be easily accessed by students from most devices. Consequently, these work in the classroom, as a group, or for individual access outside of class, perhaps for a flipped-style class in which the items are discussed in the next lesson.
Flip vs Padlet ultimate comparison guide
Functions
Flip and Padlet are different in their offerings although both do offer a platform for sharing video clips. While Flip lets teachers post videos with accompanying text -- which students can respond to -- Padlet is more like a digital whiteboard that can offer other forms of media too.
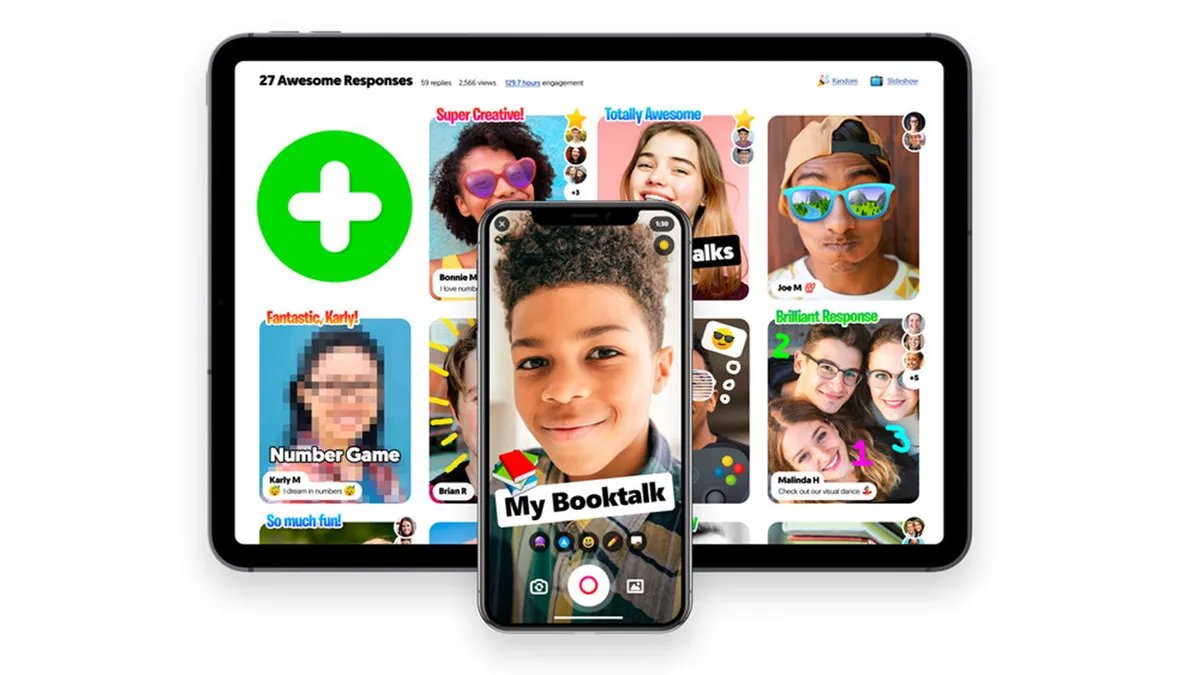
Flip lets educators record and post their own videos, which are stored in the cloud so they can be accessed from nearly any device. These can be add to with text, stickers, emojis, and drawings.
Padlet uses virtual walls on which educators can post videos, images, documents and audio. This is collaborative, allowing students to respond by also using the rich media choices -- with controls on how this works reserved for the teacher.

Features
Flip is more video-focused, which means you can upload original video directly and have students interact with ease. Yet with Padlet you can also record videos, or record audio -- or even combine the two with screen recording and guidance, using your device's camera and microphone.
While Padlet creates an open space to upload or share anything you might want, it's Flip that lets you make videos more fun by adding emojis, stickers, writing, or drawings as you might want. So while Padlet might be better for a wider range of media, suited to older students, Flip could be more fun and easy to use for younger students.

Compatibility
While both Flip and Padlet can be accessed using a web browser, meaning they work on most devices, one has more dedicated apps than the other and that's Padlet.
Both work on iPhone, Android, and web, however Padlet also has apps for Windows and Mac machines. Padlet also offers 24/7 live support and comes with many integrations.
Flip works with Google Chrome, Microsoft Edge, and Vibe Interactive. But Padlet works across Blackboard Learn, Brightspace, Canvas, Google, Microsoft 365, Moodle, and PowerSchool Unified.
Price
Both Padlet and Flip offer free versions of their software that can be used right away simply by signing up using an email address. However, if you want the full experience with all the features -- in the case of Padlet -- you will have to pay. Padlet does offer a free trial.
Flip is free to use, totally.
Padlet has a free basic plan for individuals but for teachers there is the Padlet Pro plan at $8 per month, or the school focused plan Padlet Backpack starting at $2,000.
Uses
Here are some great ways to use each of the tools, which may help you decide which could best serve your needs.
Padlet
Brainstorm
Use the collaborative platform on the big screen and have an ideas sharing session with the class -- in a lesson or over weeks of time.
Exit tickets
Use these as a way for students to decompress from the lesson and cement learning and reflection beyond the classroom.
Research
Work on a project as a group and use Padlet as a place to collate research materials with varying media types. Then have students create assignments using the materials as a starting point.
Flip
Stop-motion
Record the stages of a project with pictures and then collate them into a stop motion-style video to show the progress made. This can be done by pausing video recordings as they go.
Use templates
Keep an eye on the #FlipgridWeeklyHits as these offer the top 50 templates from that week, great for ideas to get creative without working from scratch each time.
Get short
Use the three-minute short video limits to create succinct guidance for students, summaries and a space to communicate back and forth with video.
To share your feedback and ideas on this article, consider joining our Tech & Learning online community here
