How To Use Google Sites, Tips and Tricks
Google Sites is a great way to build a website and is available to teachers for free, here's how to best use the resource

Tools and ideas to transform education. Sign up below.
You are now subscribed
Your newsletter sign-up was successful
Google Sites is a free, easy-to-use website building and publishing tool that's ideal for use by teachers and students.
The intuitive design and building process make it accessible to novices and tech aficionados alike. Build a basic website, for a school club or project, or go complex and design an entire web portal for the school – Sites is flexible enough to offer depth, if needed.
Built on the Google platform, anyone who has used Google Docs will recognize the layout. This program uses templates and a drag-and-drop interaction style for quick and easy website construction.
So is Google Sites for you? Read on to find out how to use Google Sites and to pick up the best Sites tips and tricks to take full advantage of the platform.
How does Google Sites work?
Google Sites is web-based so it can be accessed from most devices using a web browser. While it works on a mobile or tablet, it's probably preferable to use a laptop or desktop computer with a large screen and mouse to help make the working process easier.
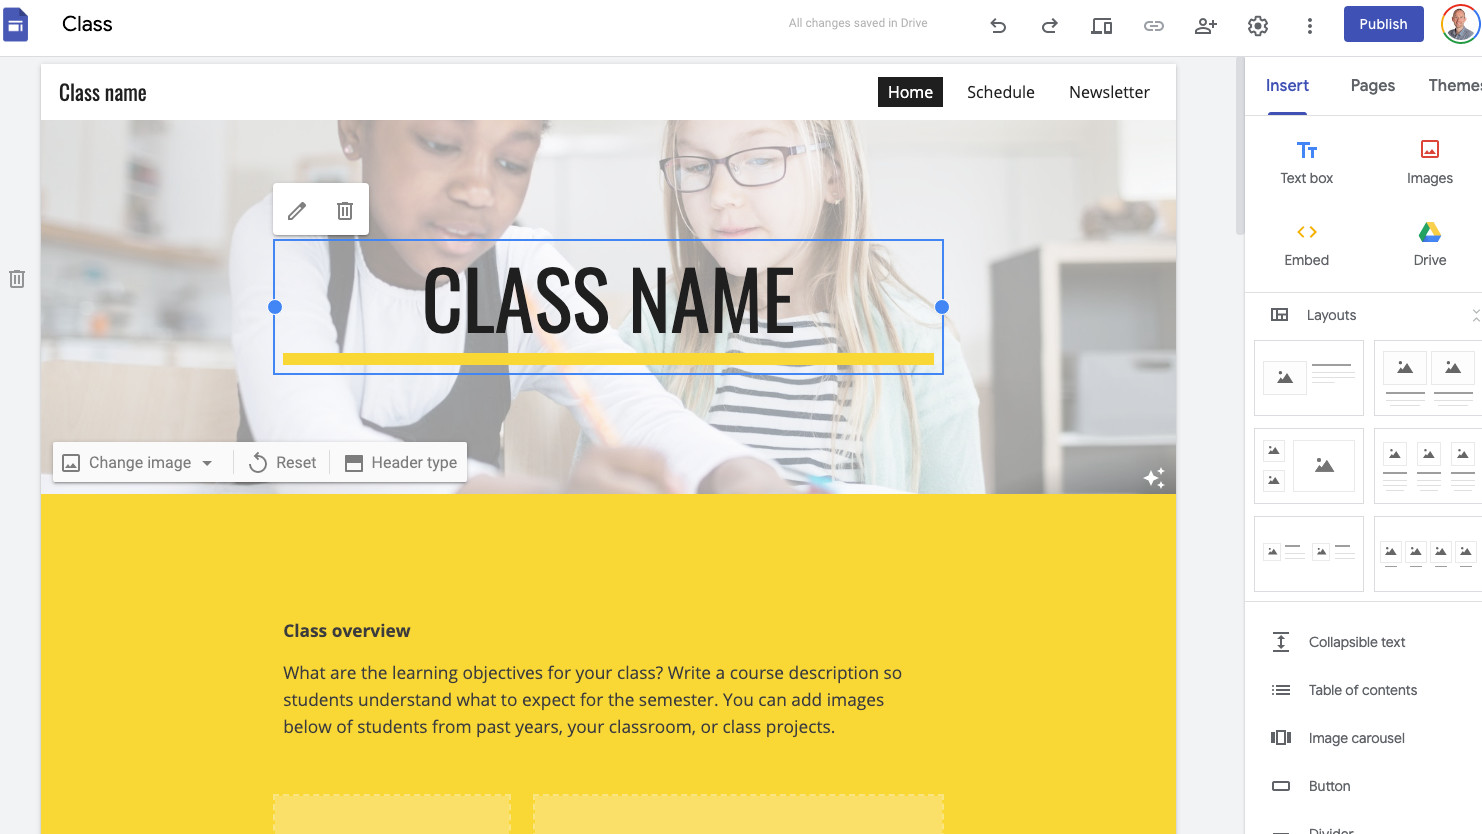
When you open Google Sites you'll be able to start from scratch, selecting the "+" icon, or you can choose one of the many templates in the "template gallery," located at the top of the page.
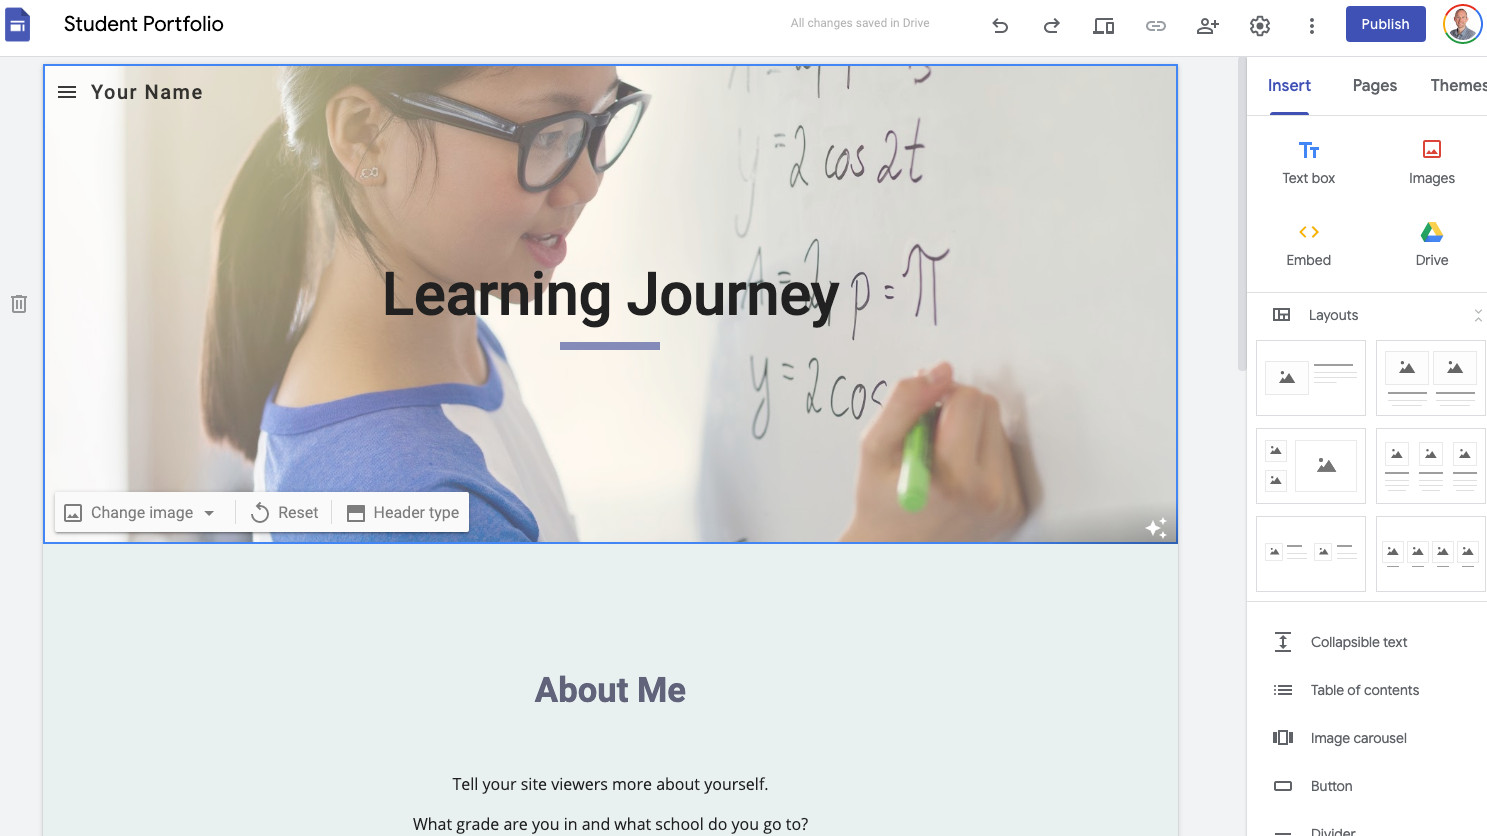
Title the page at the top, then decide on your layout or reorganize the layout if you're using a template you want to change. This is done by simply dragging and dropping the boxes where you want each one. It can get complicated if there is lots of movement, so it's recommended to keep things as simple as possible or stick closely to an original template.
Tools and ideas to transform education. Sign up below.

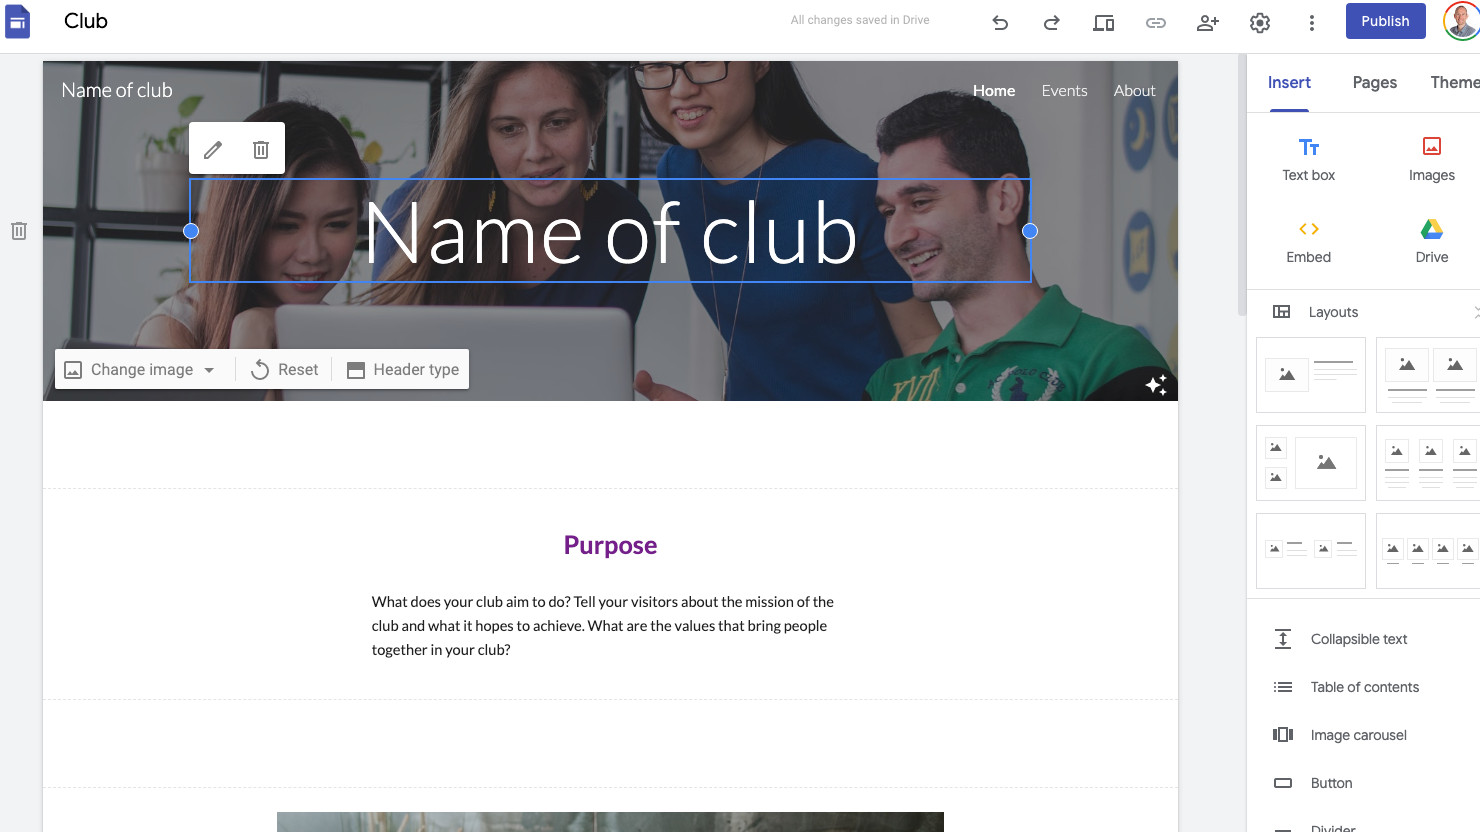
Fill in information such as the heading and introduction text. Then you can upload images to use, either from your computer, from Google Drive, or from the web - to name a few options.
If you want to add extra pages select the "Pages" tab to the right and the "+" icon at the bottom of that side bar. Here you can add a new page, which will be the same basic layout as the homepage, or you can add a link.
Themes is another tab on the right that allows you to change the feel of your site with options for varying font types, colors, and styles. Most allow you to vary all these things at once with a single selection of the overarching style.
How to publish a Google Site
Once you're happy with the layout and content of the website, it's time to publish. Simply navigate to the top right and select the "Publish" icon. Here you'll be given the chance to enter the web address you wish to use.
This basic option will make your site follow the address
"http://sites.google.com/view/enternamehere." Which is long. The other option is to select the Custom URL option, which will allow you to add a specific domain, but you will be required to buy that domain name first using another website such as Google Domains, GoDaddy, or InMotion, to name just a few.
You're then able to select tabs such as "Analytics" on the left to see how your website is doing in terms of visitors. You can turn this on by selecting the toggle next to "Enable analytics." A useful feature if you want to grow your website's traffic.
This might not be a major concern when using this in class though. Here are some of the best tips and tricks for using Google Sites in class.

Use Google Sites as a resource point
One way to offer students resources, which are spread across the year, is to place it all on a website. This makes it not only accessible but keeps it organized for the teacher and students. It could also be a resource that can be reused, or edited for reuse, for different years.
This is easy to edit, allowing teachers to integrate things such as quizzes that lead off to other websites, all within the page. It also can be well integrated into Google Classroom, making it ideal for schools that already use G Suite for Education.
This can be done by creating pages and subpages that feature content in an organized way.
Use Google Site for procedure learning
A great way to deliver student and staff guidelines is via Sites. This allows teachers to upload procedural information in a clear and accessible way, but also makes it super easy to keep updated as new changes take place.
During the pandemic, for example, using Sites is a perfect way to lay out procedures on at-home and remote learning. The ability to update as changes happen is a really valuable feature here.
Have students create sites
Engage those higher order skills by having students use Google Sites as a way to learn how to build a website while also creating something functional.
For example, you can have club members create a site for their club that acts as a resource page but also can be updated with information on the latest happenings in that community.
Students can also use Sites as a way to present a project. Setting a task that involves laying out the information required on a site can help to layer learning and encourage the development of useful skills such as problem-solving and communication.
Make the Google Site interactive
To create a truly useful website with interactivity, you can embed code or URLs from other resources. For example, it is possible to add a Padlet into a site.
This allows students to comment on one another's work without having to be a contributor to the site itself. It can also encourage collaboration.
Luke Edwards is a freelance writer and editor with more than two decades of experience covering tech, science, and health. He writes for many publications covering health tech, software and apps, digital teaching tools, VPNs, TV, audio, smart home, antivirus, broadband, smartphones, cars and much more.
